Pages

Friday, 31 May 2024

Black Cat Favour Box

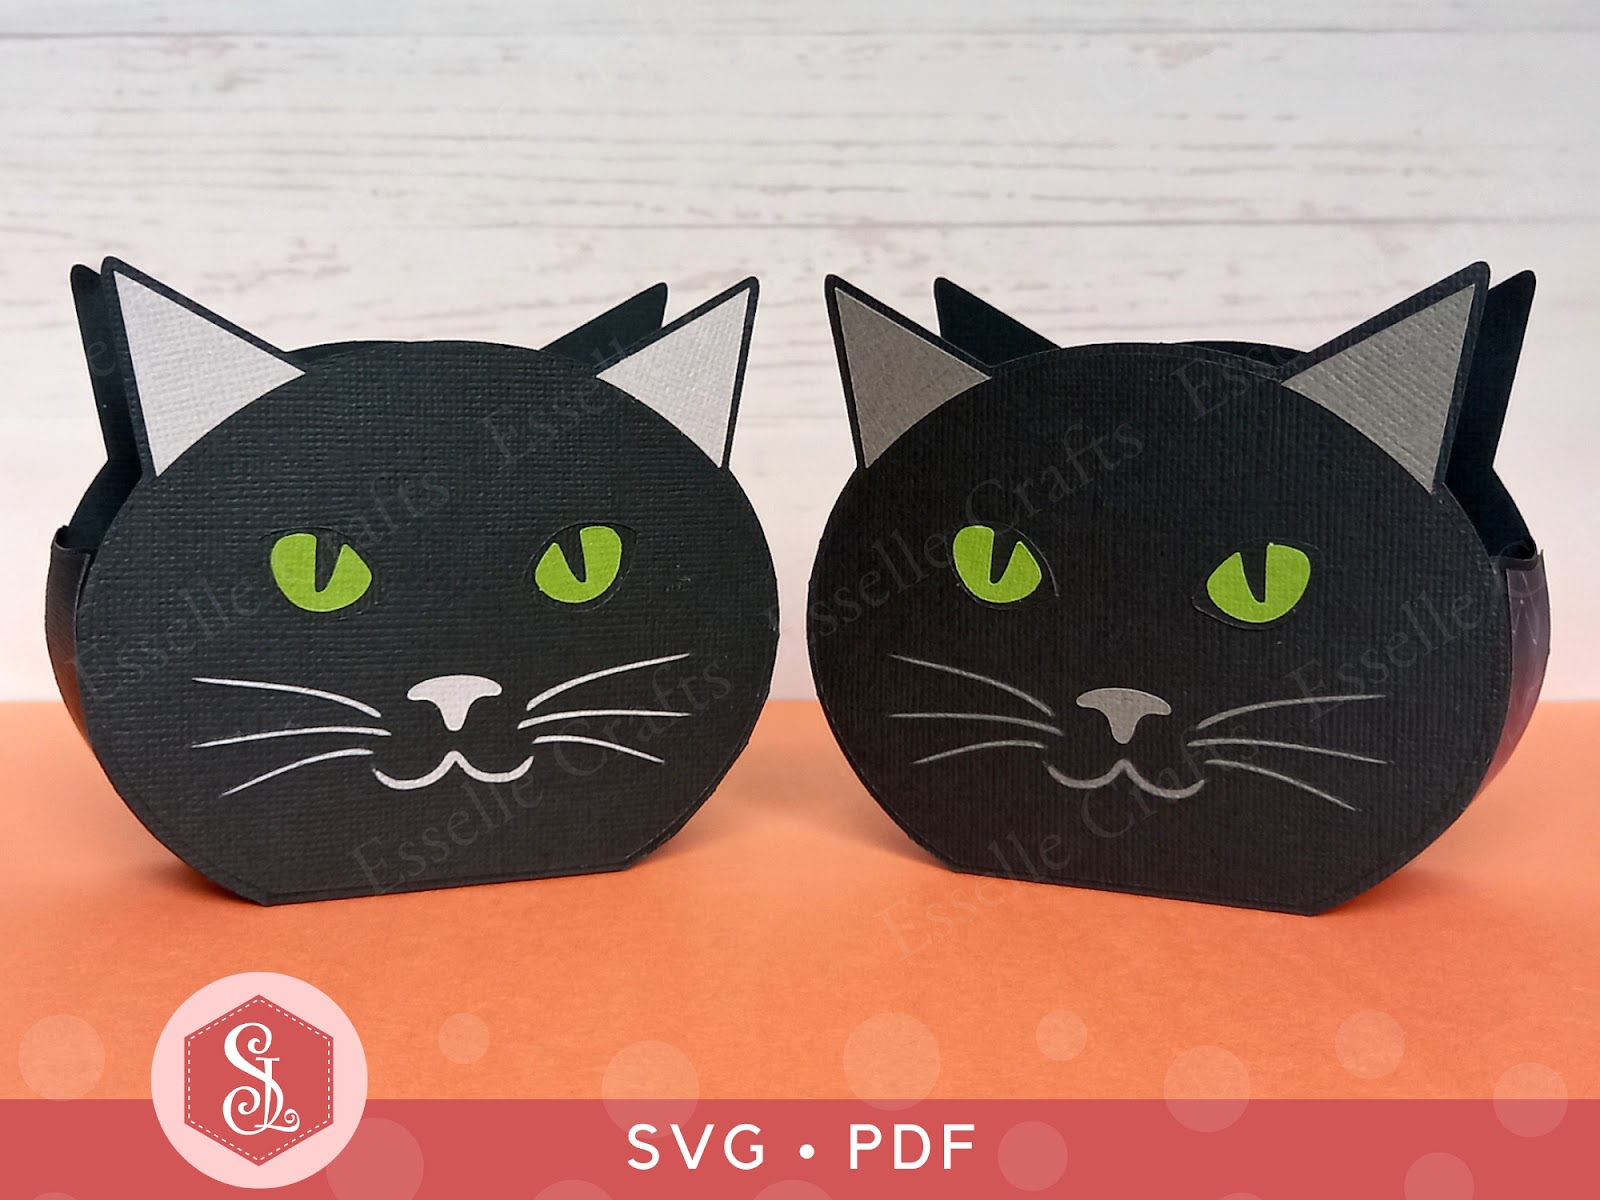
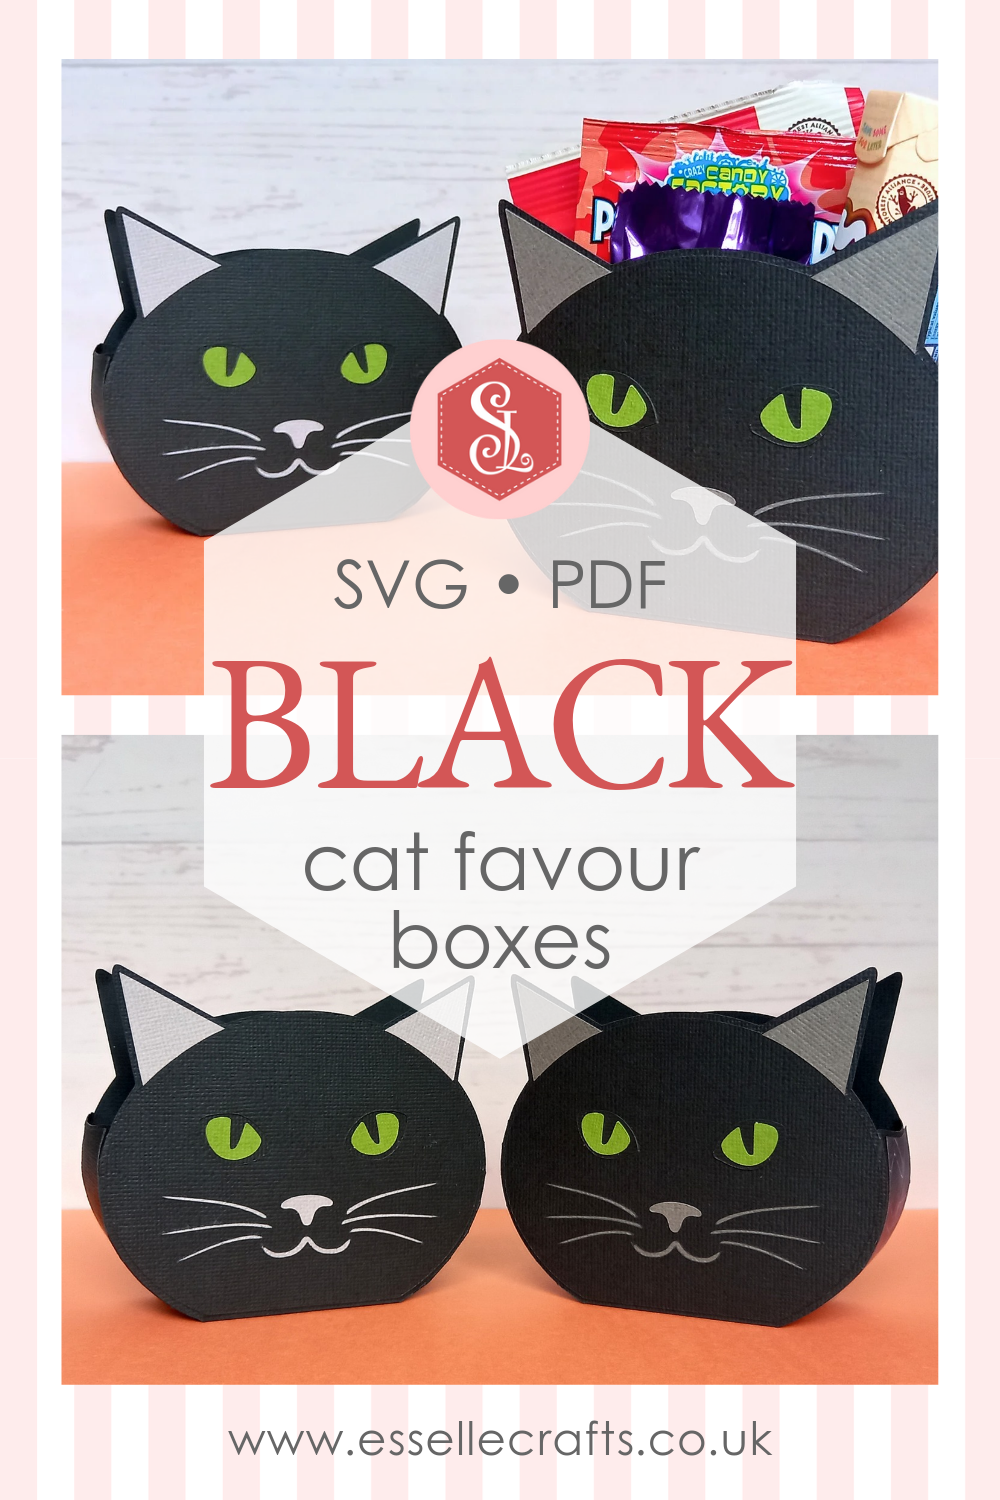
Following on from my previous post, where I introduced you to my Tabby Cat Favour Boxes, I have now made a Black Cat version - perfect for Halloween treats!


Easy to assemble, you can make the cat head box in any colour you wish (it doesn't have to be black) and adapt the colour of the eyes, nose and whiskers to match! Ideal as little table favours or for a cat-themed party, you can fill them with sweets, chocolates or small gifts.


Available from my Etsy shop, the template comes as an SVG cut file, as well as a PDF if you prefer to cut out by hand. 


PLUS you get an optional extra white face patch to create a bi-colour cat face, like a tuxedo cat!


To make one of these cat boxes, you will need:

Black Cat Favour Box template (SVG and PDF available)
* Computer and printer to print the PDF templates and instructions
* Double-sided, textured cardstock (220-250gsm / 80-92lb recommended)
* Craft glue / double-sided tape

If you are not using a digital cutting machine, you will also need:

* Craft knife / scissors
* Scoring tool
* Ruler

Watch my video tutorial showing how to assemble the box and be sure to follow the tips below:


TIP 1 : After gluing the side panels on, gently curve the sides using your fingers or a bone folder before the glue dries. This will make assembling the box much easier and give it a neater finish.

TIP 2 : Instead of using plain black cardstock on the side panels, why not use a spooky halloween patterned paper! Here I've used a spider web design on the box on the left.


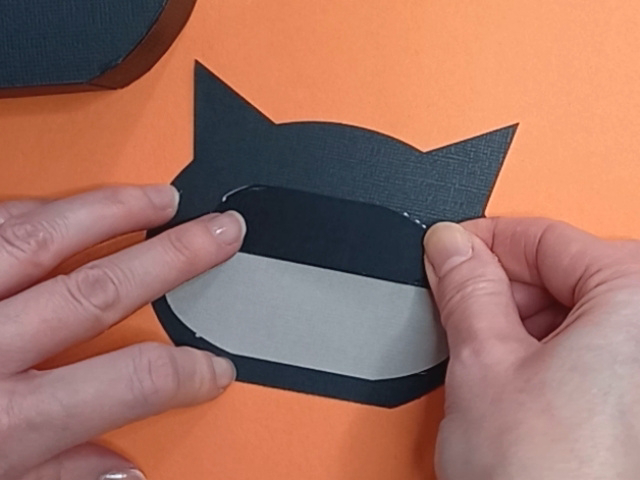
TIP 3 : Make sure that the (grey) whiskers / mouth panel and the (black) eyes panel completely cover the cut out sections. They should line up like this:


The cat box measures approximately 11cm (W) x 9.5cm (H) x 4cm (D)  /  4.3" (W) x 3.74" (H) x 1.6" (D), however, this is only meant as a guide, as the templates can easily be re-sized to suit your needs.

I hope that I have now inspired you to create your own little cat favour boxes (whether black or tabby) and I can't wait to see what you fill them with!

Suzanne

Tuesday, 28 May 2024

Tabby Cat Favour Boxes

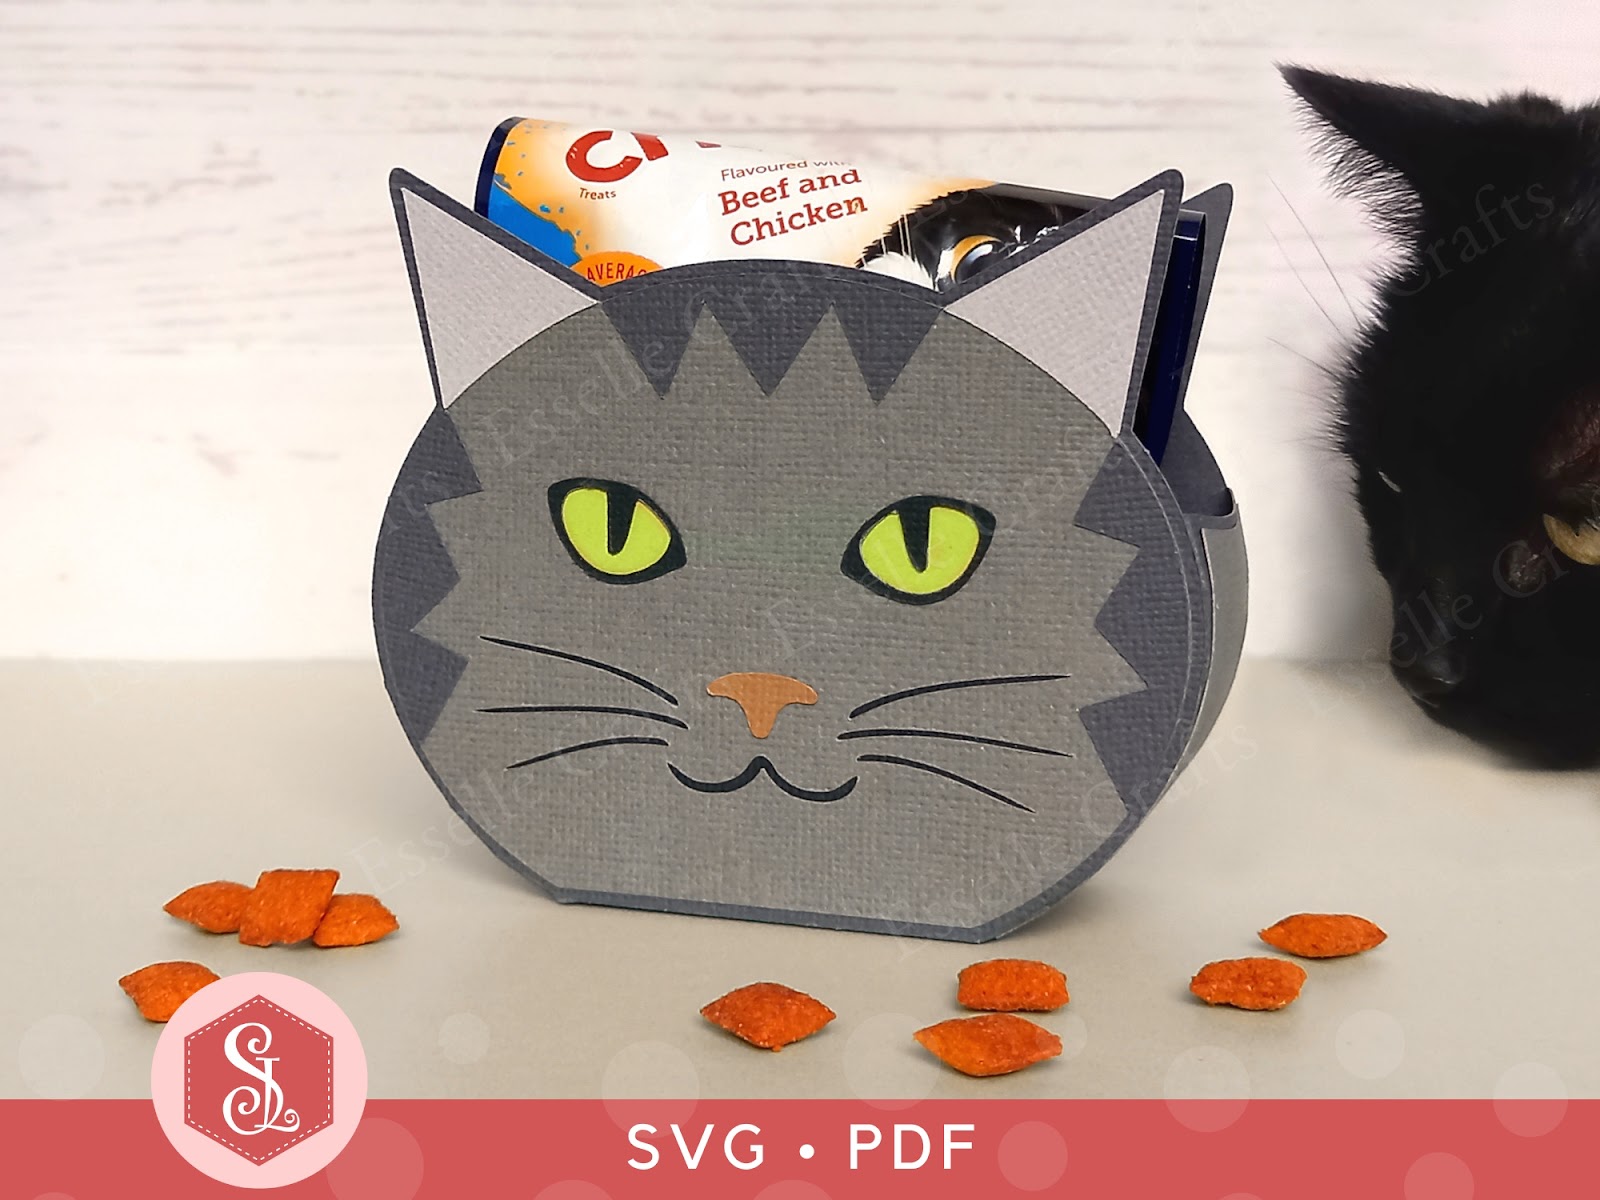
These little Tabby Cat Favour Boxes make the perfect gift box for any cat lover! Easy to assemble, you can make the tabby cat head in any colour you wish and adapt the colour of the eyes, nose, whiskers and stripes to match!


Ideal as little table favours or for a cat-themed party, you can fill them with sweets, chocolates or small gifts. You could even put some cat treats in them like I did - much to Prince's delight! 🐈‍⬛


Available from my Etsy shop, the template comes as an SVG cut file, as well as a PDF if you prefer to cut out by hand. 


PLUS you get an optional extra white face patch to create a bi-colour cat face!


To make one of these cat boxes, you will need:

Tabby Cat Favour Box template (SVG and PDF available)
* Computer and printer to print the PDF templates and instructions
* Double-sided, textured cardstock (220-250gsm / 80-92lb recommended)
* Craft glue / double-sided tape

If you are not using a digital cutting machine, you will also need:

* Craft knife / scissors
* Scoring tool
* Ruler

Watch my video tutorial showing how to assemble the box and be sure to follow the tips below:


TIP 1 : After gluing the side panels on, gently curve the sides using your fingers or a bone folder before the glue dries. This will make assembling the box much easier and give it a neater finish.

TIP 2 : Make sure that the (white) whiskers / mouth panel and the (black) eyes panel completely cover the cut out sections. They should line up like this:


The cat boxes measure approximately 11cm (W) x 9.5cm (H) x 4cm (D)  /  4.3" (W) x 3.74" (H) x 1.6" (D), however, this is only meant as a guide, as the templates can easily be re-sized to suit your needs.

I hope that I have inspired you to create your own little Tabby Cat favour boxes using my template and I can't wait to see what you fill them with!

Suzanne

Sunday, 19 May 2024

Cricut Design Space Upload Error

Following a recent update, Cricut Design Space is experiencing issues when uploading SVGs. It is showing a red warning bar at the top of the screen, worded something like this:

After doing some research about this 'sodipodi:namedview' error, there appears to be a few things that can resolve it. 

Firstly, the error is only occuring on the desktop version of Cricut Design Space, not on the mobile app. So, for a quick temporary fix, you can transfer the SVG that you want to use to your mobile device via email, then open the Cricut Design Space app on your mobile device and upload the SVG as usual. If you then open Cricut Design Space on your desktop again, you will see the SVG in your 'Recent Uploads'.

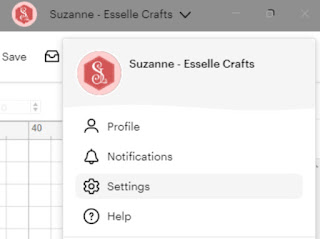
Secondly, (for a more permanent fix 🤞) your desktop version probably needs updating. This can take a bit of time, but to do this you need to click on your Cricut Design Space profile and select 'Settings'.

Then you need to check that 'Beta' is highlighted next to 'Application Experience'.

Next you need to check that you have the most up-to-date version of Cricut Design Space - this needs to be version 8.31.61 (the previous version with the bug was 8.31.60 and I discovered a few more before that). Click 'check for updates' if yours shows anything other than Version 8.31.61

Cricut Design Space will then update and restart (you may also need to restart your computer to resolve any remaining issues), then hopefully you will be able to upload your SVGs in the usual way!

Hooray! 🎉

I really hope this helps to solve any problems you're having with uploading your SVGs to Cricut Design Space. Do let me know how you get on with it 🙂

Suzanne