

*UPDATE* I have now converted the templates to include SVG cut files so that they can also be used on digital cutting machines.

If you would like to make one of these amazing little boxes for yourself, then you will need:
First, you will need to print the Doughnut Box template onto the coloured cardstock and the Doughnut Icing template onto the white photo paper. Then cut everything out.


- The PDF templates
- Coloured cardstock (180 - 220gsm double sided recommended)
- White photo paper (90 - 180gsm glossy recommended)
- Craft knife / scissors
- Ruler
- Double-sided tape
- PVA glue
First, you will need to print the Doughnut Box template onto the coloured cardstock and the Doughnut Icing template onto the white photo paper. Then cut everything out.

Apply small amounts of double sided tape to the areas marked on the template. Then, starting with the base, stick the corner of the second flap onto the first, pressing it down firmly. Continue in this way, flattening the shape slightly as you go, until a circle is formed.


Secure the end tab with either glue or double-sided tape, and ensure that all tabs are securely stuck down.
Repeat with lid.


Next, using PVA glue, stick disc A onto the underside of the base, ensuring that the circle is in the centre.

Score and bend the centre tube flaps outwards and secure the ends together to form a tube. Push disc B over the tube and stick to the inside of the base with PVA glue.


Stick disc C to the inside of the lid, ensuring that the circle is in the centre. Next, apply plenty of PVA glue to your choice of icing and stick to the top of the lid, pressing all of the edges down firmly.


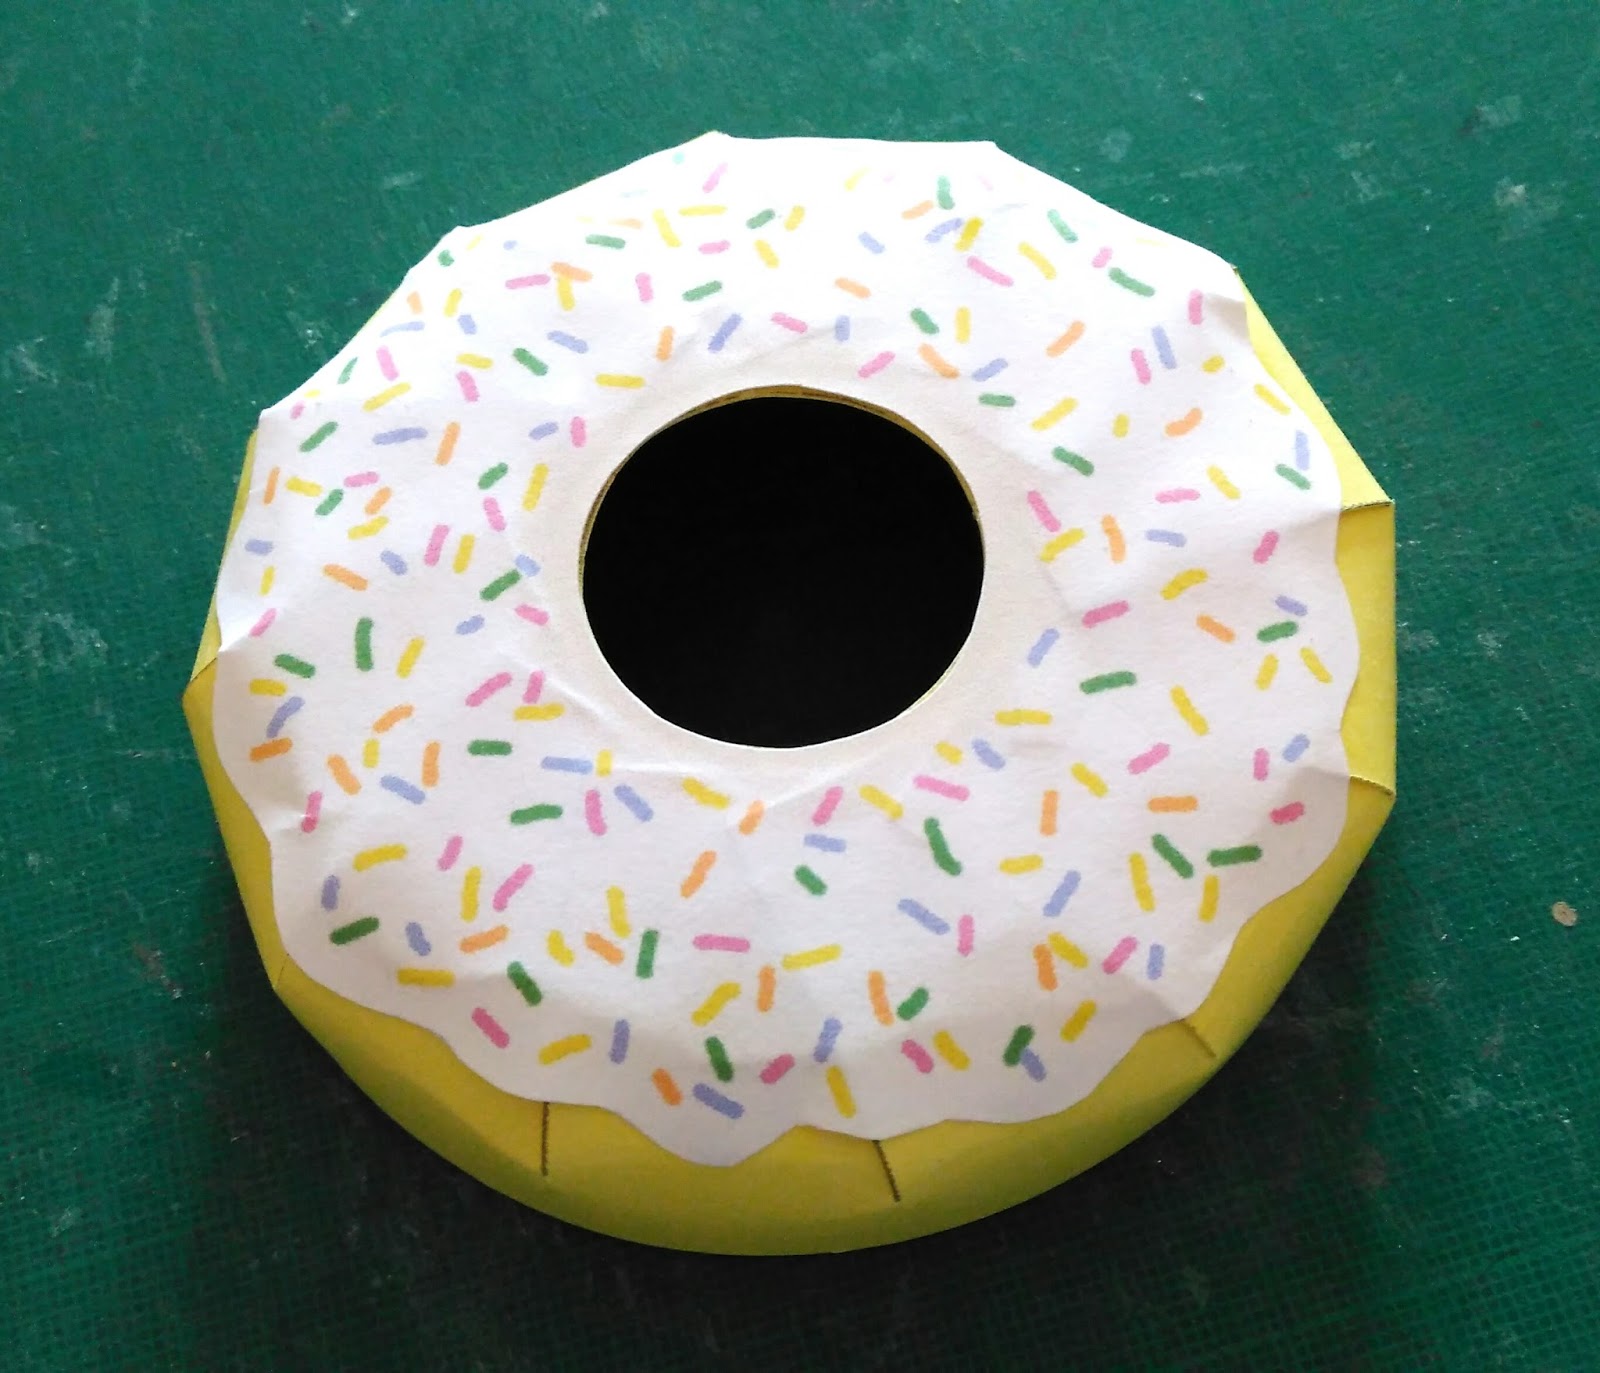
Your doughnut box is complete!


No comments:
Post a Comment