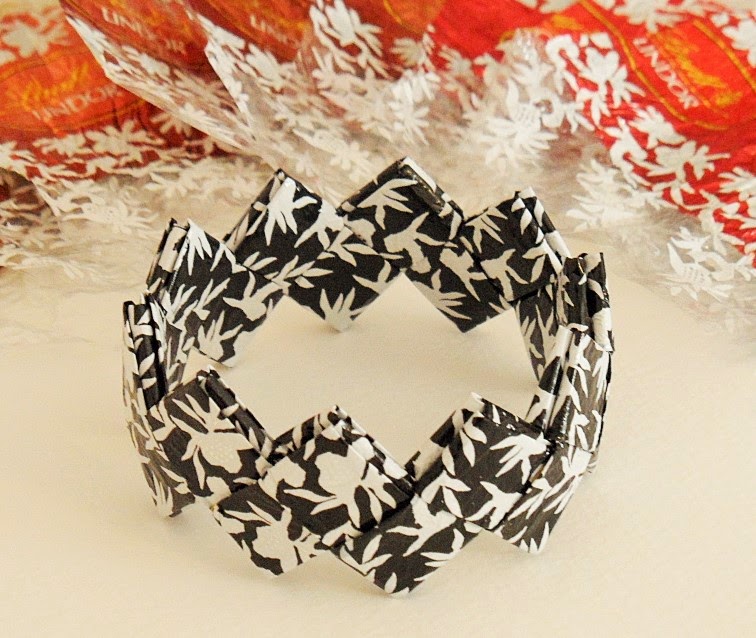
Here is what I created...
Tuesday, 31 March 2015
Candy Wrapper Bracelets
As it's nearing Easter, no doubt I shall soon be creating more of these fantastic candy wrapper bracelets. Last Christmas I was given a stash of chocolate wrappers, (honestly, I didn't eat them all myself!) and have finally managed to use them up.
Here is what I created...
Here is what I created...
Sunday, 15 March 2015
Teapot Flower Tutorial
For every teapot box I create, I always enjoy working on the finishing touches and little details that make each one totally unique. I usually decide to make a flower to go on the lid, and over the years I have incorporated several different designs.
I still use the original, spiral technique on many of my teapot boxes as I feel this creates a nice round shape similar to that of a real teapot - plus they're so quick and easy to make!
However, I would like to share a short tutorial on how I create this other flower design. They are really easy to make and I think the effect compliments the teapots perfectly.
First, I start with four squares cut out of thick paper or thin cardstock (I used cardstock for these photos) and one small circle.
Then I fold each square in half, and again into thirds to create a point. A simple petal shape is then cut out.
After cutting off the point to create a small circle in the middle of the flowers, I then cut one petal off one flower, two petals off another and cut a third one in half. This leaves me with one whole flower with six petals, one with five, one with four and so on down to one petal.
Next, I start to apply glue to each of the flowers and stick the two ends together, curling them as I go.
Once they are dry, I stick the circle to the underside of the flower with six petals. This forms the base.
Then I stick each of the other flower sections on in turn, finishing with the one-petal flower in the middle.
I still use the original, spiral technique on many of my teapot boxes as I feel this creates a nice round shape similar to that of a real teapot - plus they're so quick and easy to make!
For my steampunk-inspired teapot boxes, I created a small pressure gauge and a mini top hat to fit in with the overall design.
First, I start with four squares cut out of thick paper or thin cardstock (I used cardstock for these photos) and one small circle.
Then I fold each square in half, and again into thirds to create a point. A simple petal shape is then cut out.
After cutting off the point to create a small circle in the middle of the flowers, I then cut one petal off one flower, two petals off another and cut a third one in half. This leaves me with one whole flower with six petals, one with five, one with four and so on down to one petal.
Next, I start to apply glue to each of the flowers and stick the two ends together, curling them as I go.
Once they are dry, I stick the circle to the underside of the flower with six petals. This forms the base.
Then I stick each of the other flower sections on in turn, finishing with the one-petal flower in the middle.
The flower is then ready to glue to the teapot lid.
Because I used card for this flower, the edges of the petals are quite jagged, and I think this creates an interesting effect, similar to that of a real flower.
I hope this inspires you. And if you make one of my teapots using my template then you really can choose to finish off the lid any way you want!
Happy crafting!
Subscribe to:
Comments (Atom)


