Quite often, people ask me how to change the size of my templates after they have downloaded them, and so I thought this would be a good opportunity for me to share with you how I go about doing this.
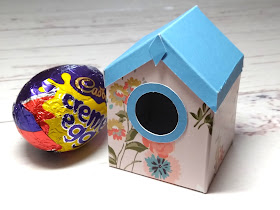
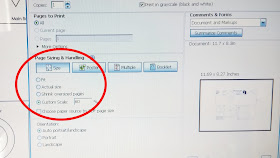
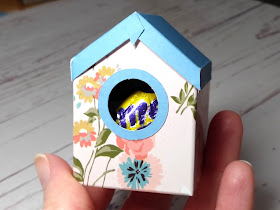
To begin with, I open the template in Adobe Reader and go to print. Where it says Page Sizing & Handling, I click on Custom Scale and type in the percentage that I would like to either enlarge or reduce the template by. For my miniature birdhouse box, I am reducing it by 60%.
I then print it out onto standard printer paper.
Note: If you are enlarging the template, then you will need to print it out onto two or more sheets of paper.
From here, I tend to use the following method of transfering the template onto my chosen cardstock. You could also cut the template out and draw round it.
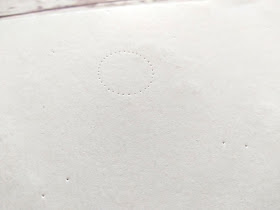
I lay the printed template onto the back of my chosen cardstock and, using a compass or a pin, carefully pierce the paper at the corners where the lines meet. As shown below, when working on a circle or a curved line, I work my way around the whole line, keeping the holes close together.
This makes the curved lines far easier to cut out of the cardstock.
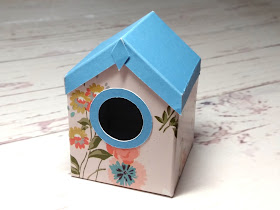
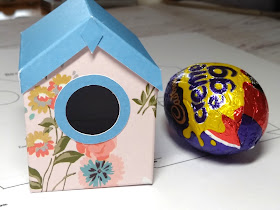
Once I have cut everything out, it is just a case of assembling the box, following the template instructions. But remember, the smaller you print the template out, the fiddlier it can be to assemble!
I hope you enjoyed this quick tutorial on how to change the size of your templates. If you have any questions, just leave them in the comments below.
Happy crafting!




No comments:
Post a Comment