With an opening underneath, this sturdy box can be used as a money box, a treat box, a keepsake / storage box or even a unique little gift box. Without the opening, it would make a great ornament or centrepiece!
To make one, you will need:
* An empty Pringles tube (wiped clean inside)
* A round cheese spread box (eg, Dairylea)
* Cereal box card
* Scraps of coloured card or paper from used greeting cards.
* Strong clear (all purpose) glue
* PVA glue
* Scissors and craft knife
* Ruler
* Pencil or pen
* Optional: Paint, silver marker pen, embellishments.
Watch my video tutorial showing how to make it, or follow the instructions below:
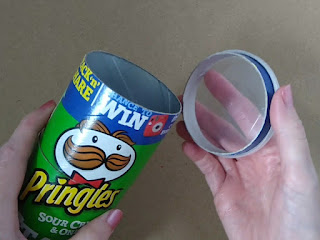
Start by cutting off one end of the Pringles tube with a craft knife. Then measure 6.5cm all the way around and cut this out.
Cut the tube in half.
Take the cheese spread box base and cut the inner rim off.
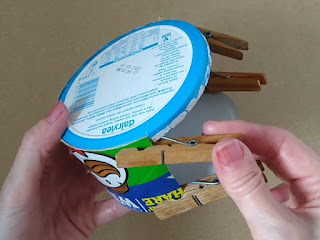
Apply strong clear glue to the inside of the Pringles tube and stick the cheese spread box base to it.
Do the same on the other side of the tube using the cheese spread box lid.
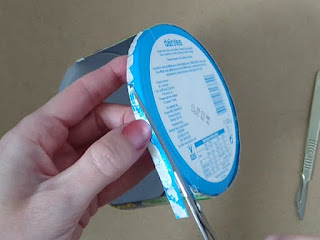
Carefully score a line between the two ends of the tube, and make a small cut at the joins. Then repeat on the other side.
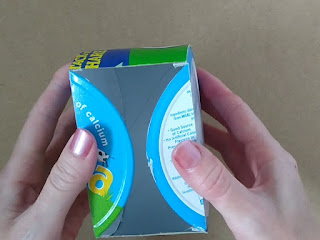
Fold the overlapping cheese spread box pieces inwards so that they form a flat base.
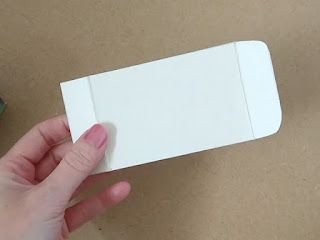
Measure the base rectangle, then draw it out onto a piece of cereal box card. Add a 2cm tab to each end and cut it out.
Round the corners of one end tab (this will form the closure).
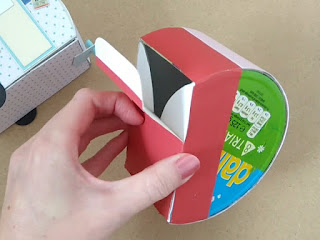
Glue the straight end tab inside the Pringles tube. Check that the closure fits securely. If not, you may need to adjust it slightly by trimming the edges a little at a time.
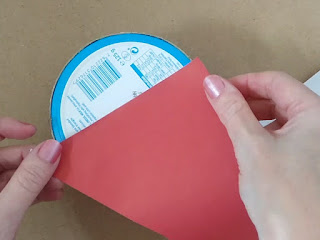
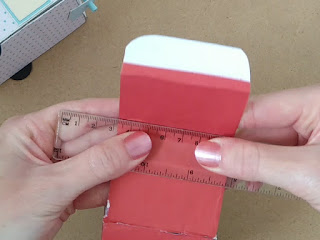
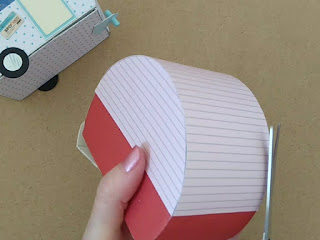
Next, cover the two cheese spread box tabs with paper or very thin card, as well as the rounded closure tab. Alternatively, you can paint them. Then, measure 4cm up from the base and stick a piece of coloured paper or thin card up to the line using PVA glue. I'm using an old envelope for mine.
Cover the front, the back and the base in the same way. Then score a line approximately 4cm in from the rounded end tab and fold the base card back.
Using strong clear glue, stick the base to the cheese spread box tabs up to the score line.
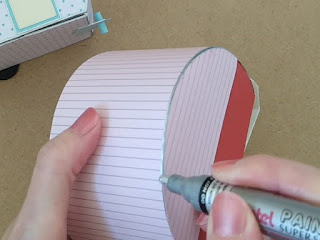
To neaten up all of the joins, add a line of silver pen or paint to to the edges to create the look of chrome.
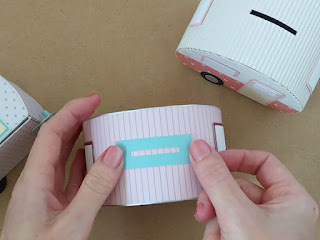
If you intend to use this as a money box, you will next need to cut a money slot in the top of the caravan. There is a template for this money slot below.
In this template, you will also find the window surrounds, windows, wheels, trailer hitch and door pieces, which you can cut out from thin card or old greeting cards. You can right click the image below to save it(JPEG) and print it out, or, simply send me an email at essellecrafts@gmail.com and I'll send you either a PDF or an SVG file of the template, whichever one suits you best.
TIP: Outline the pieces (apart from the wheels) with silver pen or paint to create the look of chrome edging.
Glue the two trailer link pieces together, matching up the holes carefully. This will give it added strength as it will be used to open the box. Roll the rectangular piece up tightly, secure it with glue, then push it through the hole in the hitch. Glue the two little circles that came out of the hitch pieces to the top and base of the roll. Then glue the trailer hitch to the closure side of the base.
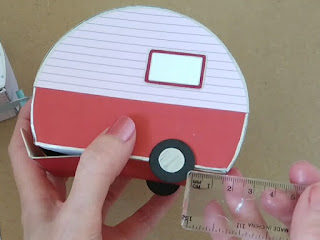
Glue the wheel pieces together to make two double-layered wheels. This makes them stronger and less likely to bend. However, if the contents of the box are likely to be heavy, then you may need to cut out more wheel pieces and layer them on. Carefully line up the wheels when you glue them on so that the caravan will stand up straight.
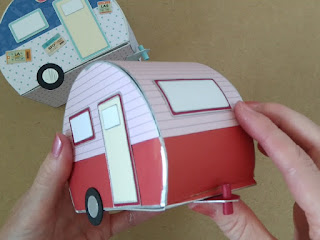
Glue the two side windows and the door into place, then bend the front and back windows slightly so that they stick more easily to the curve of the caravan.
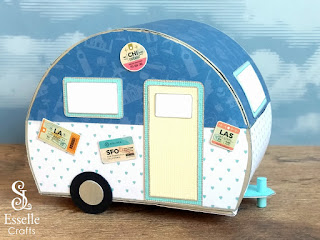
Your little upcycled caravan box is now complete!
If you wish, you could add some extra details like awnings over the windows, or maybe a string of bunting. I chose to add some tiny travel stickers to my blue caravan ...









No comments:
Post a Comment