Saturday, 22 May 2021

Life on Mars Box Card

Following on from my Ashes to Ashes box card design, I was asked recently if I could create one for Life on Mars. Well, how could I refuse?

I started with a similar template to the one that I used for the Ashes to Ashes box card, and cut it out using my Cricut Explore Air 2. I chose a shimmery copper-gold cardstock this time, again to represent the colour of the car that was used throughout the Life on Mars series.

I then created four checkered panels to look similar to the background on the front of the DVD box (above), and printed them onto white cardstock.

Next, I found several photos of the five main characters and, after adapting them slightly, printed them onto glossy photo paper and cut them out.

I had to keep moving the characters around and adjusting their heights so that, once they were in place, they could all be seen from the front of the card.

I then added the Life on Mars logo - adapted from the DVD cover - to the front of the card.

For the added details, I used a picture of the clock from series 1 episode 6, and several other items from that episode. I kept all of the papers and folders / files very neat and orderly, because that's how Sam Tyler likes to work.

I am so pleased with how this box card has turned out, and it looks fabulous next to my Ashes to Ashes card.


Saturday, 15 May 2021

Graduation Cap Gift Box

With the end of the academic year fast approaching, this adorable little Graduation Cap Gift Box can be made quickly and easily to celebrate a forthcoming graduation.

You can choose to make the traditional black cap and tassel, or any variation of colours. 

Saturday, 24 April 2021

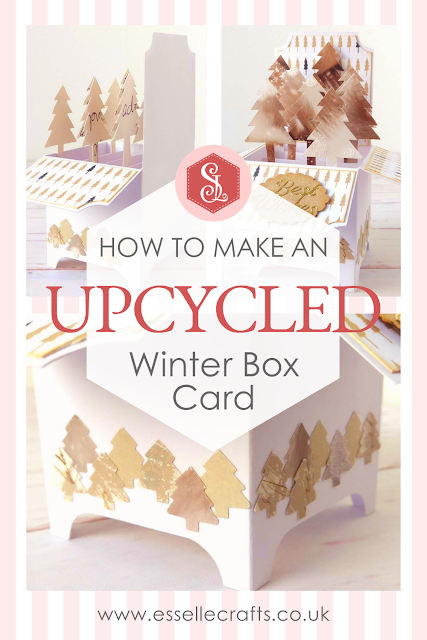
Winter Tree Box Card

Recently, I was given a huge pile of used greeting cards, many of which cannot be recycled as they have glitter on them. So, this got me thinking ... Could I create some upcycled box cards out of them?

Quite a few of the cards were Christmas cards, so the first one that I created was this winter tree box card.


All of the elements, including the main box card itself, were made from upcycled Christmas cards. I used my Cricut Explore to cut the box card out, together with a simple tree template, then cut the remaining pieces out by hand.

The four decorative panels came from the front of a large Christmas card. There were lots of embellishments stuck to it with foam pads, so I tried to save as much of the lovely little tree pattern as I could.

The larger trees started life as a picture of a red squirrel! Hard to believe, I know, but here is the card as I was cutting them out using the tree template.

The reddish-brown colours are so rich and earthy, and the little sprinkling of snow makes them perfect for this winter card.

With the scraps of card that I had leftover, I cut some little tree shapes out using a craft punch, then glued them around the base of the box card.


I glued a white panel to the back of the box card, and left it blank, so that it could be used for a handwritten message.

Here is a view of the back, where you can see some of the handwriting from the original Christmas card. I chose to leave it like this to show that it is upcycled and totally unique!

I took the gold 'best wishes' lettering from another Christmas card, which I first had to soak in warm water to remove it. Then I punched a scalloped oval out of another card, inked around the edges with vintage brown ink and glued the gold lettering on.

I am really pleased with how it has turned out; 100% upcycled and 100% unique! Will you try something like this?

Happy crafting
Suzanne