Showing posts with label upcycled crafts. Show all posts

Friday, 26 July 2024

Even More Upcycled Favour Bags!

Once again, I have been busy making more upcycled gift bags using my Butterfly Favour Bag template.

For this first one, I cut the front, back and side panels out of an old tissue box, then used a silver metallic marker pen around the edges before gluing them in place. To compliment the silver, I used silver glitter card for the handle panels.

Tuesday, 11 June 2024

More Upcycled Favour Bags!

Following on from one of my previous posts, I have been busy making more upcycled gift bags using my Butterfly Favour Bag template.

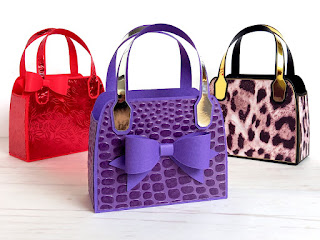
The main structure of this stunning purple bag is made from an old school book cover! I then cut the front, back and side panels out of textured paper. The handle panels were cut from silver mirror card and the enlarged bow was made from another piece of the school book cover.

I think this is definitely one of my favourites! 💜


This red bag, along with its bow, also started life as a school book cover! I then cut all of the panels out of red mirror card and embossed them with a beautiful leaf design.


I cut the decorative panels on this black leopard print bag out of an old paper bag - you know, the ones you get from little gift shops. I first had to back the paper bag onto thin white card to give it some stability before cutting the panels out. I then ran a gold metallic marker pen around the edges, which perfectly compliments the gold mirror card handle panels.


Here's all three of them together, looking absolutely gorgeous!


I created these two white bags from old textured cardstock that I'd taken from another project. Don't they look amazing?! I love the look of white on white. There were a few imperfections on some of the panel pieces, so I embossed each of them using a knitted pattern design, which made them perfect! I then used the leftover scraps to make the little bow and the layered flower.


For this last bag, I cut the main black pieces out of an old art folder and the panels out of a tissue box. I cut the panels out by hand as I wanted to line the little dogs up so that the pattern was equal on both sides. I then ran a silver metallic marker pen around the edges and cut the handle panels out of silver glitter card to match. 


Whilst not all of the bags are made entirely from upcycled materials, it was a good chance to use up some of my cardstock scraps and experiment with different textures. 

So, which bag is your favourite now?


Happy crafting and happy upcycling! ♻️
Suzanne

Saturday, 5 August 2023

Upcycled Favour Bags

I've recently been experimenting with my butterfly favour bag template, seeing what other versions I could come up with, and just look at what I've created!

Aren't they fabulous!?

Most of the bags are decorated with small paper scraps, and I upcycled old greeting cards, Christmas crackers and card packaging for the others ♻️

My favourite has to be the Guinea pig bag, made using a tissue box.

I started by making the bag out of Kraft card, then I cut the front and back panels from the front and back of the tissue box and the two side panels from the picture on the base of the box. I went around the edges of the panels with a gold metallic marker pen before gluing them on, then cut the handle panels from gold mirror card.

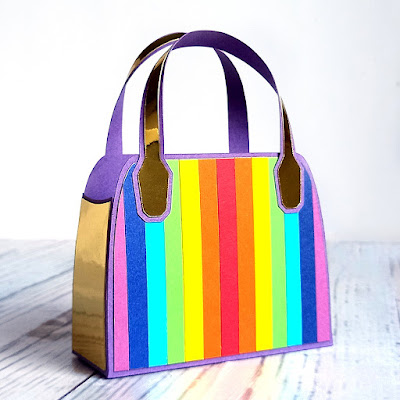
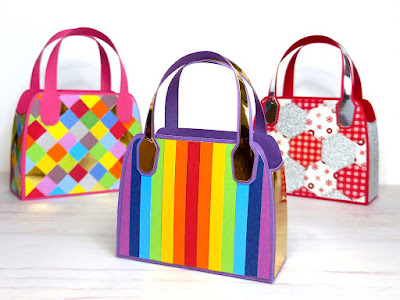
For this rainbow bag, I reduced the size of the template slightly and cut the main bag pieces out of an old school book cover. I then cut the front and back panels out of white copy paper. I found lots of different coloured cardstock scraps and cut them into thin strips. Then I glued the red strip down the centre of the front and back panels and filled the rest with the other colours. After trimming any ends off, I went around the edges with a gold metallic marker pen, then cut the two side panels and the handle panels out of gold mirror card.

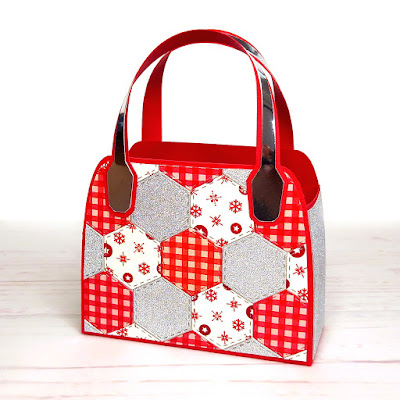
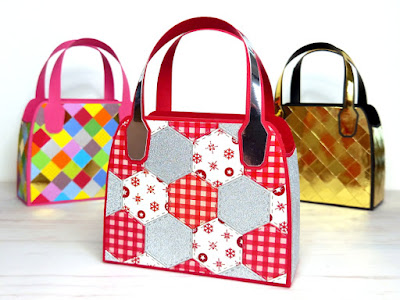
For this next one, I made the bag out of red cardstock, then cut a front and back panel out of white copy paper. I die cut small hexagons from old Christmas crackers (that I had saved from a couple of years ago) and glued them onto the panels to make a patchwork effect. I then cut the two side panels out of a larger piece of glittery, silver cracker and cut the handle panels out of silver mirror card.


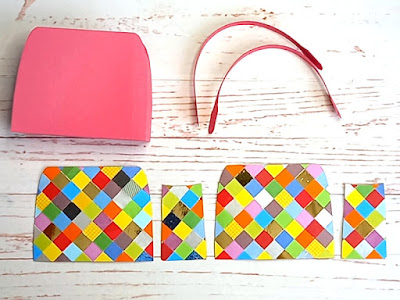
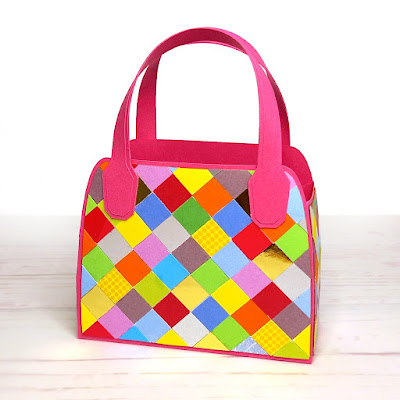
The pink card that I used for this next bag was an old A4 folder divider that I no longer needed. Again, I cut the front and back panels and two side panels from copy paper, then found lots of small scraps of cardstock, greeting cards and food packaging and punched out as many squares as I could using my 1.1cm square punch.

Call me obsessive, but I really wanted all of the edges to match up so that it looked like a candy wrapper bag, and here's how the panels looked once I'd finished.


Before I glued them on, I ran the panels through my Big Shot to flatten them and it gave them a nice smooth finish.


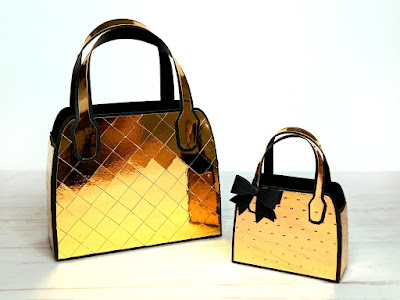
I made this next one in a similar way, using scraps of gold mirror card. Running these panels through my Big Shot created almost a matt finish, and I went around the edges with a gold metallic marker pen afterwards to hide the white core.

It's very similar to the mini gold handbags that I made using the same template.

I'm completely obsessed with making these bags now, and will definitely be making more!

Watch this space!

Suzanne

Friday, 3 June 2022

Tropical Handbag Gift Bag

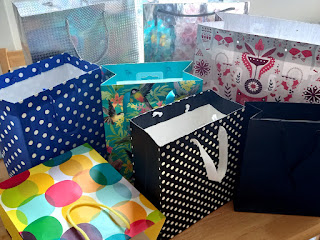
Hello, and welcome to another upcycling tutorial! This time I will be showing you how to transform an ordinary, cheap gift bag into a fabulous, designer-worthy handbag gift bag!

Over the years, I've been given so many of these gift bags, and I've saved them, thinking that one day I will be inspired to create something new out of them. Now I can't wait to share with you what I've made, and show you how to make one for yourself!

Doesn't it look amazing! 😍

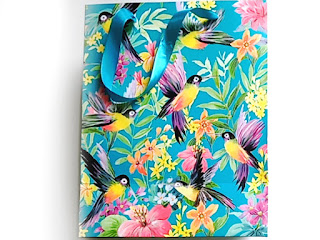
This is the gift bag that I started off with. The label on the base showed that it came from Tesco and was called T.Tropical Gift Bag, but as I was given it so long ago, I doubt if it's still available.


Take a look at my video tutorial below showing how I made the handbag!


Here's a close up view of the rosette on the front. The button was also repurposed from an old cardigan.

Tropical Gift Bag Handbag by Esselle Crafts

Here's a view of the handbag from the back.


It's still very roomy inside, and still folds flat!


I just love how the pattern on the two handles matches up perfectly!


I am so pleased with how this bag has turned out, and can't wait to get started on another one!


Sunday, 12 September 2021

Mosaic Desk Tidy - Easy Upcycling

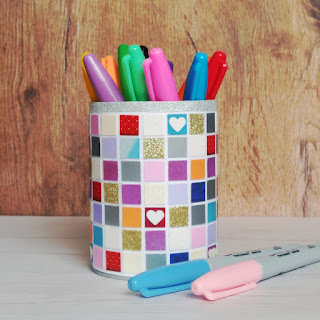
Following on from my previous post, showing how to create hanging star decorations from used Christmas cards, the next upcycling project I'd like to share with you is this stunning mosaic desk tidy!

Mosaic Desk Tidy by Esselle Crafts

Again, I have used my old Christmas cards here, together with a few other greeting cards that I had saved, but you could just as easily use scraps of coloured cardstock. 

Saturday, 4 September 2021

DIY Upcycled Hanging Star Decorations

For the last few weeks I've been sorting through my huge pile of used Christmas cards, wondering what I could possibly do with them...

Used Christmas Cards

Most of them had glitter on them and were donated to me last year because they couldn't be recycled. So I started to come up with some ideas of how to upcycle them into new creations. The first of which is these fabulous hanging star decorations!

DIY Upcycled Christmas Card Hanging Star Decorations

Thursday, 5 August 2021

Upcycled Caravan Box

Welcome to another upcycling project! I am using my old favourite again - a Pringles tube - and this time I will be showing you how to turn it into an amazing little caravan box!

With an opening underneath, this sturdy box can be used as a money box, a treat box, a keepsake / storage box or even a unique little gift box. Without the opening, it would make a great ornament or centrepiece!

Upcycled Caravan Box by Esselle Crafts

Thursday, 3 June 2021

Upcycled Rainbow Box

Time for another upcycling project! This time I will be turning an empty Pringles tube into a beautiful rainbow box!

From one Pringles tube, you should be able to make three or four rainbow boxes using the measurements below. They could be used as jewellery boxes, keepsake boxes or unique gift boxes. They are incredibly sturdy, and you can decorate them however you wish!

Saturday, 24 April 2021

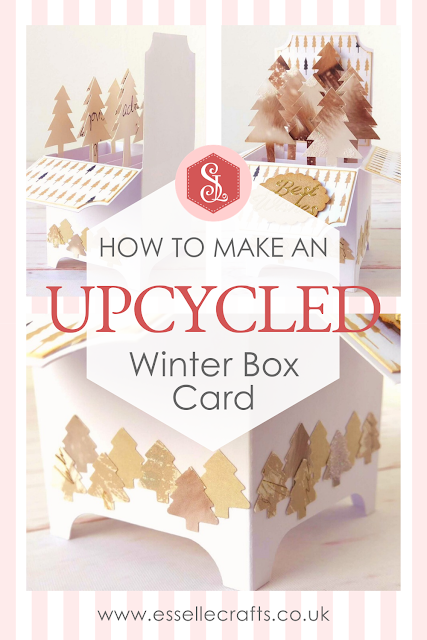
Winter Tree Box Card

Recently, I was given a huge pile of used greeting cards, many of which cannot be recycled as they have glitter on them. So, this got me thinking ... Could I create some upcycled box cards out of them?

Quite a few of the cards were Christmas cards, so the first one that I created was this winter tree box card.


All of the elements, including the main box card itself, were made from upcycled Christmas cards. I used my Cricut Explore to cut the box card out, together with a simple tree template, then cut the remaining pieces out by hand.

The four decorative panels came from the front of a large Christmas card. There were lots of embellishments stuck to it with foam pads, so I tried to save as much of the lovely little tree pattern as I could.

The larger trees started life as a picture of a red squirrel! Hard to believe, I know, but here is the card as I was cutting them out using the tree template.

The reddish-brown colours are so rich and earthy, and the little sprinkling of snow makes them perfect for this winter card.

With the scraps of card that I had leftover, I cut some little tree shapes out using a craft punch, then glued them around the base of the box card.


I glued a white panel to the back of the box card, and left it blank, so that it could be used for a handwritten message.

Here is a view of the back, where you can see some of the handwriting from the original Christmas card. I chose to leave it like this to show that it is upcycled and totally unique!

I took the gold 'best wishes' lettering from another Christmas card, which I first had to soak in warm water to remove it. Then I punched a scalloped oval out of another card, inked around the edges with vintage brown ink and glued the gold lettering on.

I am really pleased with how it has turned out; 100% upcycled and 100% unique! Will you try something like this?

Happy crafting
Suzanne 

Friday, 16 April 2021

24oz Paper Teacup

Recently, I was asked if it was possible to create a large, 24oz teacup using my Teacup and Saucer favour box template. Not a problem, I replied, and to prove it, here's one that I made!

Ok, so I admit it doesn't look very interesting here, having been made entirely out of plain white cardstock, but it provided me with an enticing blank canvas to build upon ... 

And just look at it now!

Saturday, 27 June 2020

Memory Baubles

Following on from my Christmas memory bauble tutorial, where I upcycled my old Christmas cards and Advent calendar, I have started to create lots of memory baubles based on different themes!

Upcycled memory bauble by Esselle Crafts

Sunday, 5 April 2020

Pringles Tube Lighthouse

In previous posts, I showed you how to create a postbox and a mailbox out of an empty Pringles tube. I seem to be finding more and more ways of upcycling these versatile cardboard tubes, and so this time, I am going to show you how to turn one into a lighthouse.

Friday, 7 February 2020

DIY Upcycled Love Heart Gift Box

Welcome to another upcycling project! This time I am going to show you how to turn an empty cheese triangle box into a super cute love heart gift box, perfect for Valentine's Day! ❤️

Upcycled Love Heart Gift Box for Valentine's Day

You can include your own personal message inside, then fill the box with chocolates or other small treats and present it to that special someone in your life! ❤️