Tuesday, 11 June 2024

More Upcycled Favour Bags!

Following on from one of my previous posts, I have been busy making more upcycled gift bags using my Butterfly Favour Bag template.

The main structure of this stunning purple bag is made from an old school book cover! I then cut the front, back and side panels out of textured paper. The handle panels were cut from silver mirror card and the enlarged bow was made from another piece of the school book cover.

I think this is definitely one of my favourites! 💜


This red bag, along with its bow, also started life as a school book cover! I then cut all of the panels out of red mirror card and embossed them with a beautiful leaf design.


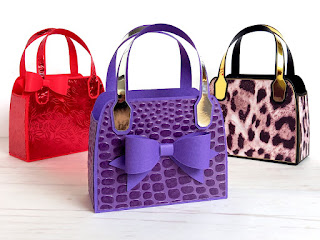
I cut the decorative panels on this black leopard print bag out of an old paper bag - you know, the ones you get from little gift shops. I first had to back the paper bag onto thin white card to give it some stability before cutting the panels out. I then ran a gold metallic marker pen around the edges, which perfectly compliments the gold mirror card handle panels.


Here's all three of them together, looking absolutely gorgeous!


I created these two white bags from old textured cardstock that I'd taken from another project. Don't they look amazing?! I love the look of white on white. There were a few imperfections on some of the panel pieces, so I embossed each of them using a knitted pattern design, which made them perfect! I then used the leftover scraps to make the little bow and the layered flower.


For this last bag, I cut the main black pieces out of an old art folder and the panels out of a tissue box. I cut the panels out by hand as I wanted to line the little dogs up so that the pattern was equal on both sides. I then ran a silver metallic marker pen around the edges and cut the handle panels out of silver glitter card to match. 


Whilst not all of the bags are made entirely from upcycled materials, it was a good chance to use up some of my cardstock scraps and experiment with different textures. 

So, which bag is your favourite now?


Happy crafting and happy upcycling! ♻️
Suzanne

Thursday, 6 June 2024

Cricut on Wheels!

Do you have to move your heavy digital cutting machine every time you want to use it? I do, due to a current lack of space on my craft desk!
Up until now I've either had to pull my Cricut Explore forwards (not easy when it has rubber feet) or carefully lift it into position at the front of my desk so that there's enough space behind it for the cutting mat to pass through without hitting my pegboard. 

I then discovered these amazing mini caster wheels!


They come with little self adhesive sticky pads that easily peel off, so all I had to do was simply attach the wheels to the base of my Cricut machine, one in each corner.

Now my Cricut glides effortlessly, forwards and backwards, and I know that it's not going to get damaged whenever I move it. Not only that, but it can also rotate 360° if I want it to!

Have you tried these little casters or something similar for your cutting machine? They really are a game-changer for me!

Happy crafting
Suzanne

Friday, 31 May 2024

Black Cat Favour Box

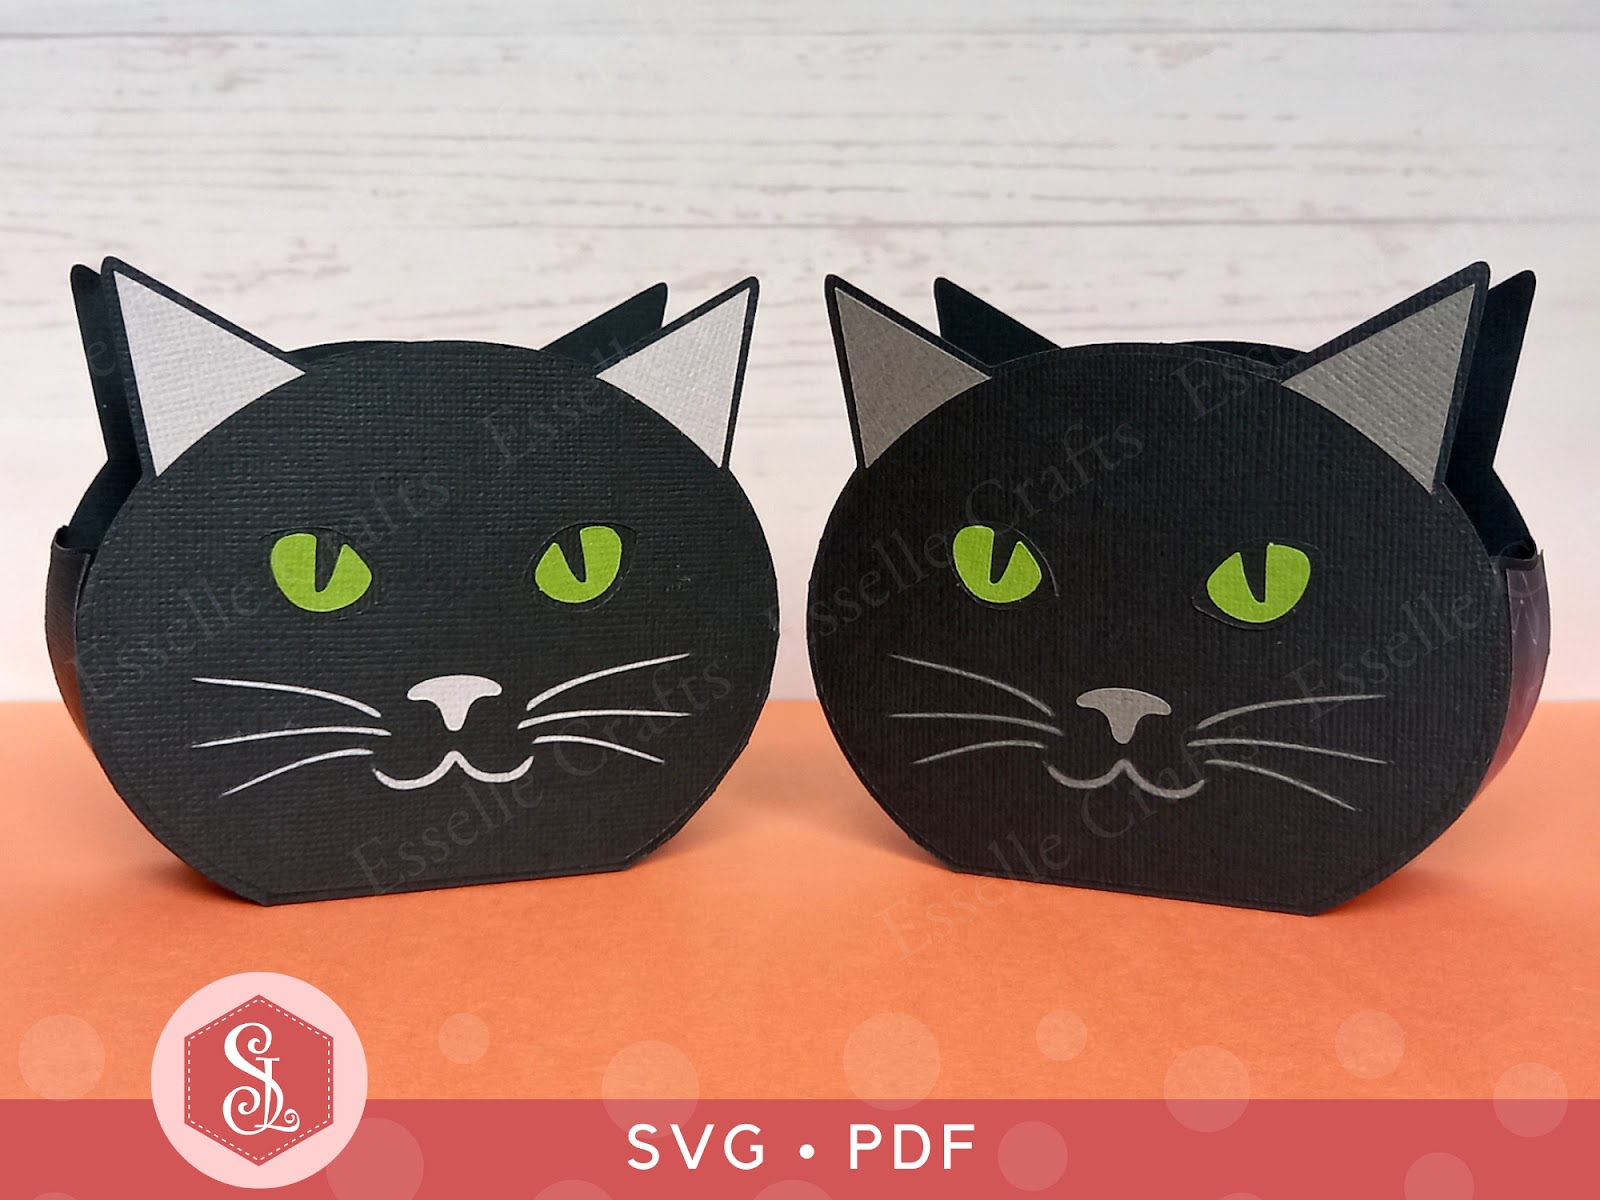
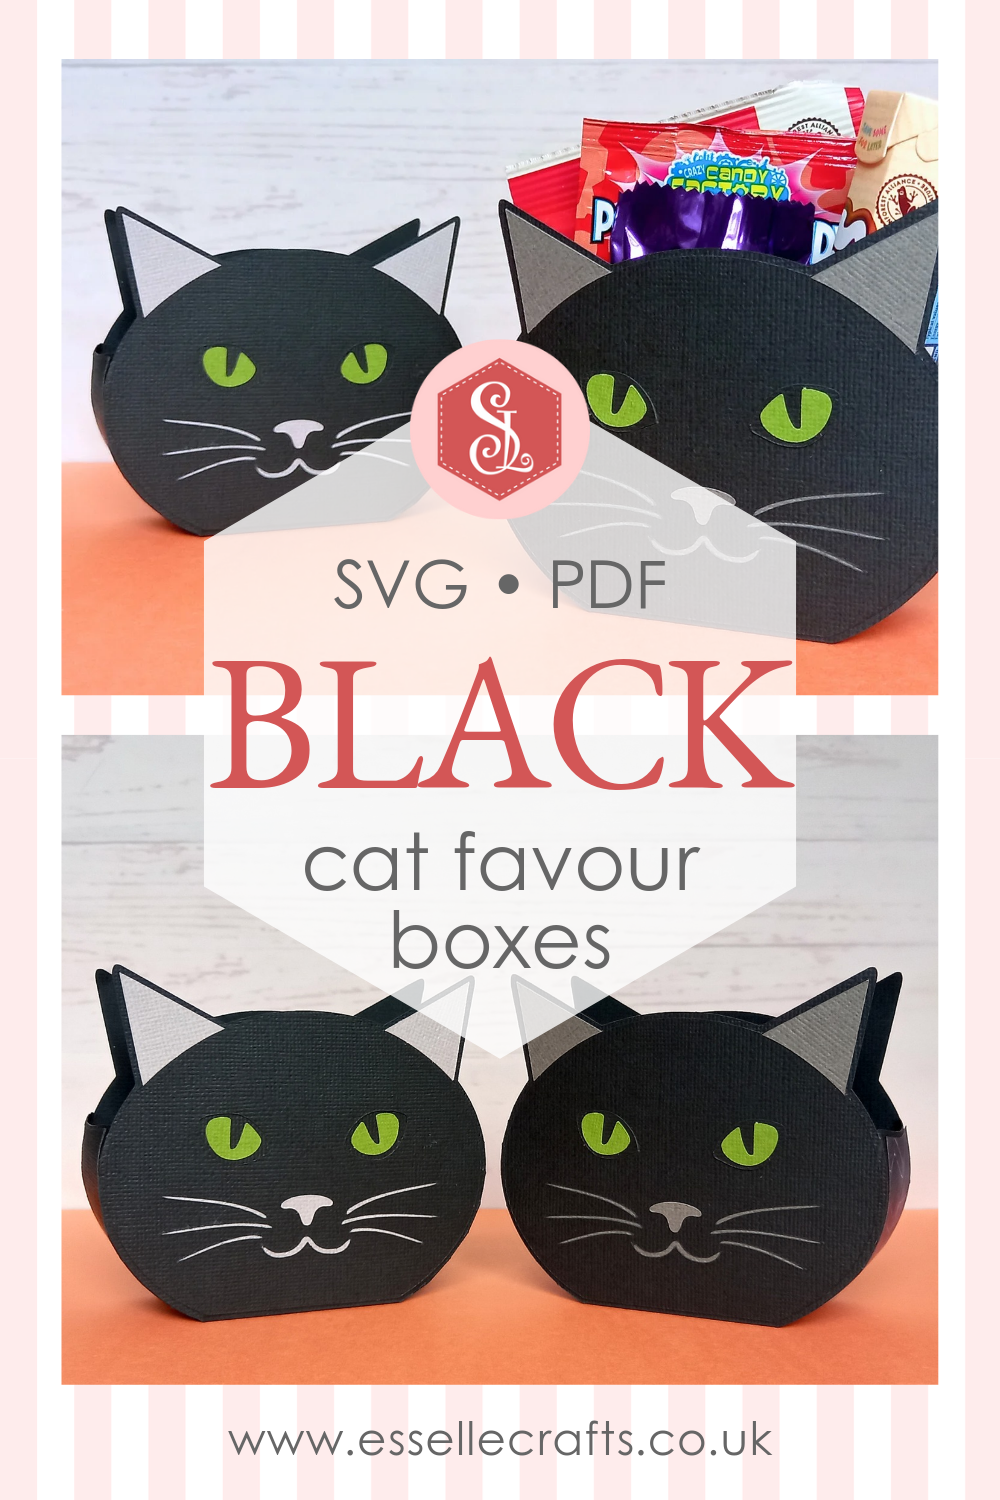
Following on from my previous post, where I introduced you to my Tabby Cat Favour Boxes, I have now made a Black Cat version - perfect for Halloween treats!


Easy to assemble, you can make the cat head box in any colour you wish (it doesn't have to be black) and adapt the colour of the eyes, nose and whiskers to match! Ideal as little table favours or for a cat-themed party, you can fill them with sweets, chocolates or small gifts.


Available from my Etsy shop, the template comes as an SVG cut file, as well as a PDF if you prefer to cut out by hand. 


PLUS you get an optional extra white face patch to create a bi-colour cat face, like a tuxedo cat!


To make one of these cat boxes, you will need:

Black Cat Favour Box template (SVG and PDF available)
* Computer and printer to print the PDF templates and instructions
* Double-sided, textured cardstock (220-250gsm / 80-92lb recommended)
* Craft glue / double-sided tape

If you are not using a digital cutting machine, you will also need:

* Craft knife / scissors
* Scoring tool
* Ruler

Watch my video tutorial showing how to assemble the box and be sure to follow the tips below:


TIP 1 : After gluing the side panels on, gently curve the sides using your fingers or a bone folder before the glue dries. This will make assembling the box much easier and give it a neater finish.

TIP 2 : Instead of using plain black cardstock on the side panels, why not use a spooky halloween patterned paper! Here I've used a spider web design on the box on the left.


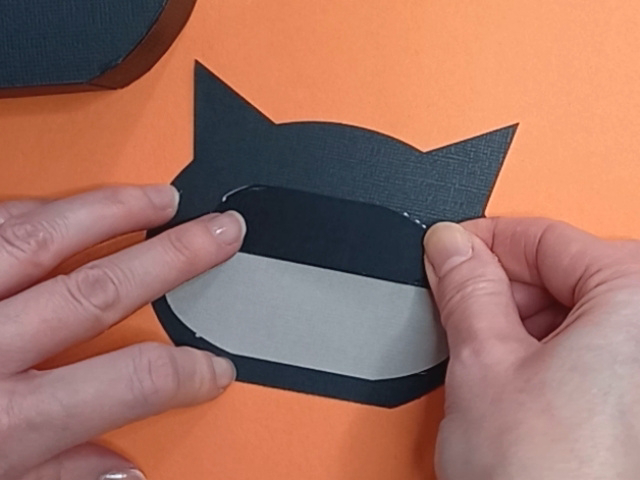
TIP 3 : Make sure that the (grey) whiskers / mouth panel and the (black) eyes panel completely cover the cut out sections. They should line up like this:


The cat box measures approximately 11cm (W) x 9.5cm (H) x 4cm (D)  /  4.3" (W) x 3.74" (H) x 1.6" (D), however, this is only meant as a guide, as the templates can easily be re-sized to suit your needs.

I hope that I have now inspired you to create your own little cat favour boxes (whether black or tabby) and I can't wait to see what you fill them with!

Suzanne