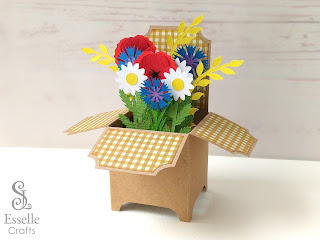
Blue cornflowers are my absolute favourite wildflower, and together with poppies and ox-eye daisies, they create a magnificent display from late spring, all the way through until early autumn.
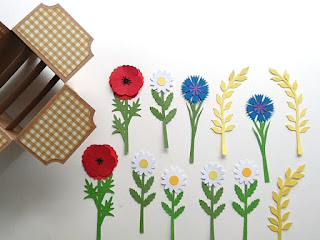
My latest pop-up box card takes these vibrant colours and mixes them with pieces of yellow corn to create this beautiful little cornfield design.
And the good news is that I have a template for this pop-up box card in my Etsy shop, available as an SVG cut file.
To make one of these cards, you will need:
* Computer and printer to print the PDF instructions
* Digital cutting machine (I have only tested this on my Cricut machines)
* Cardstock / patterned card (220-260gsm recommended)
* Craft glue / PVA
* Tweezers (optional)
Watch my video tutorial showing how to assemble the box card, or follow the instructions below.
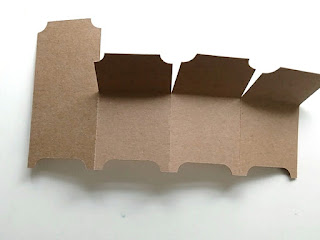
For the main piece, I used Kraft card (220gsm), because it gives a natural backdrop and really brings out the vibrancy of the flowers.
Once you have folded all of the score lines, apply glue to the long, side tab and assemble the box. Then, before the glue dries, check that it folds flat both ways.
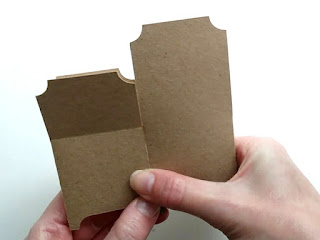
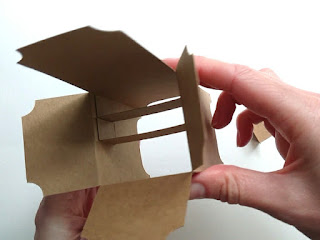
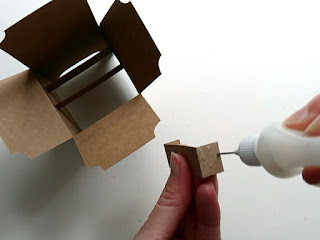
For the first insert, apply glue to the two end tabs and line them up against the back of the box card. I positioned mine just slightly lower than the top, about 4mm down.
Repeat with the other two inserts, then check that it all still folds down flat both ways.
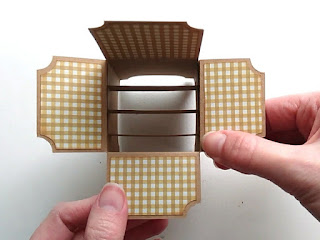
For the four panels, I used a brown gingham patterned paper, which I think gives it a nice natural basket weave feel.
Ink the edges of the panels first, then glue them into position, leaving an equal border around each one.
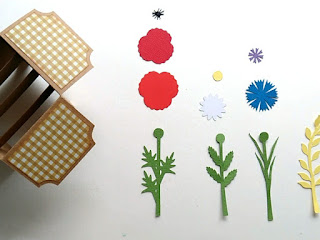
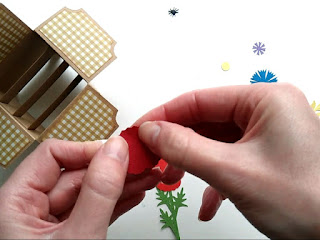
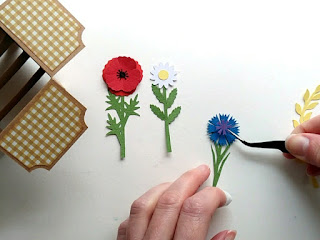
Next, decide how many of each flower you would like to use, then cut them out and assemble them using PVA glue.
Tip: For the poppy, use your fingernail or a scoring tool to create a little dimension on the smaller petals.
Tip: Using a pair of tweezers makes it easier to assemble the flower pieces as they can be a bit fiddly.
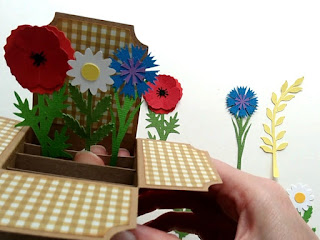
Next, you need to start arranging the flowers, taking care to start at the back with the taller ones, and shortening the stalks as you get to the front.
You can then add in some stalks of corn to fill in any gaps.
Finally, check again that the card folds flat both ways.
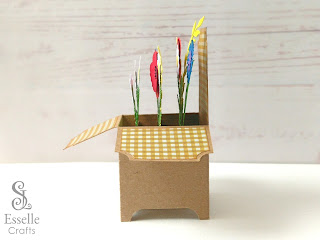
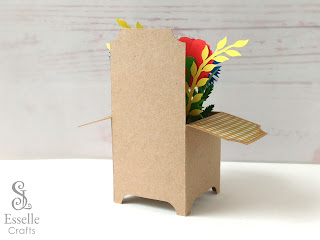
From the side, you can see all the different layers.
I decided to leave the back of this card blank, but there is another (white) panel included in the template for the back, which allows you to write your own personal message and maybe a stamped sentiment as well.
I hope I have inspired you to create one of these beautiful box cards for yourself. Feel free to send me a photo of your finished creation if you do!





No comments:
Post a Comment