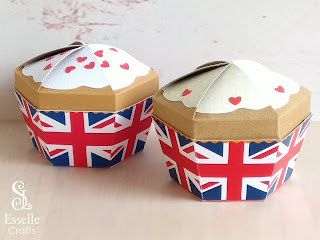
Easy to assemble, these adorable little boxes have a removable lid and can be filled to the brim with sweets or small treats. Ideal for birthday parties, Royal wedding favours, British tea parties and more!
To make one of your own, you will need:
* Union Flag Cupcake Box template (PDF and SVG available)
* Computer and printer to print the PDF template and instructions
* Digital cutting machine (I have only tested this on my Cricut machines)
* White cardstock or photo paper (220-250gsm recommended)
* Coloured cardstock (220-250gsm recommended)
* Patterned paper or thin card (90-160gsm recommended)
* Craft glue / PVA
If you are not using a cutting machine you will also need:
* Craft knife / scissors
* Scoring tool
* Ruler
Watch my new, updated video tutorial showing how to assemble the cupcake box, and be sure to follow the tips below.
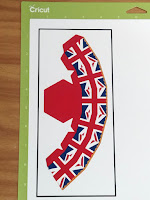
TIP 1: If you are using the SVG template, you will first need to ungroup the base layers, then flatten the 5 coloured layers. Send the score lines to the front and attach them to the base. Make sure that the base is now set to 'Print then Cut'.
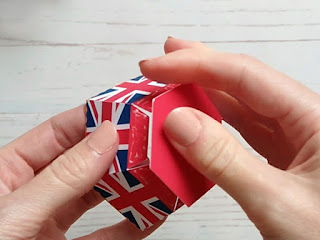
TIP 2: Carefully line the base up with the tab opposite first, then line up the others for a neat finish.
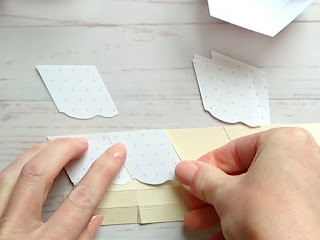
TIP 3: Glue the six icing panels to the flaps on the lid piece before assembling the lid.
TIP 4: Before the glue dries, bend the six flaps slightly. This will help to give the top of the cupcake a more natural, curved look.
TIP 5: Instead of using the tiny hearts and the rose from the template, try cutting out some small rectangular shaped sprinkles in different colours, and gluing them onto the icing panels.
TIP 6: Try resizing the template and making some mini cupcakes too!
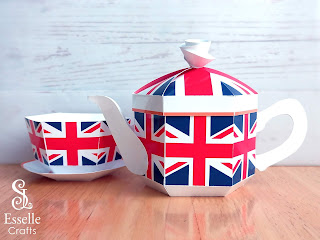
TIP 7: Team these cupcake boxes with my Union Flag Teapot and Teacup favour boxes to help make it an occasion to remember!




No comments:
Post a Comment