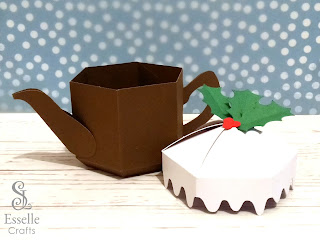
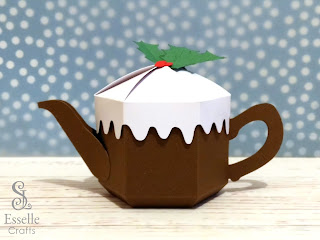
Perfect for gifting sweets or small treats, this adorable Christmas pudding teapot box has all the character of a real Christmas pudding. It's white icing lid looks as though it's dripping down the sides, and a little sprig of holly and berries adds a colourful finishing touch.
To make one of these fabulous little boxes, you will need:
* Christmas pudding teapot box template (PDF and SVG available)
* Computer and printer to print the PDF templates and instructions
* Digital cutting machine (I have only tested this on my Cricut machines)
* Cardstock / patterned card (200-250gsm recommended)
* Craft glue / PVA
If you are not using a cutting machine you will also need:
* Craft knife / scissors
* Scoring tool
* Ruler
Watch my video tutorial showing how to assemble the teapot box, or follow the instructions below.
Once all of the pieces are cut out and folded, begin by assembling the main teapot piece. Apply glue to one of the large tabs, and a tiny dot of glue to the small tab below it, then line it up carfeully with the adjacent side. Hold it firmly until it dries, then repeat with four of the other sides.
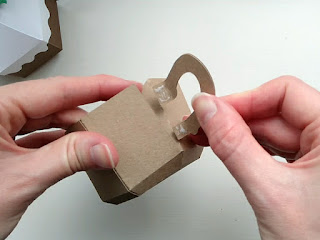
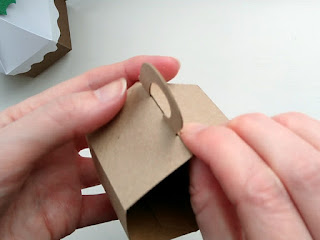
Glue the two handles together, back to back, then glue the two little tabs to the inside of the last teapot side.
Glue the last teapot tabs into place.
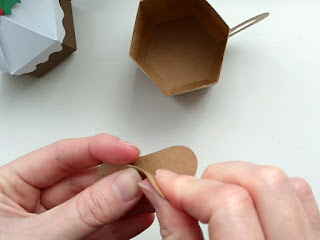
Fold the spout piece in half and glue the long tab to the inside. Then, bend the curved ends of the spout outwards slightly, and apply glue to this area only.
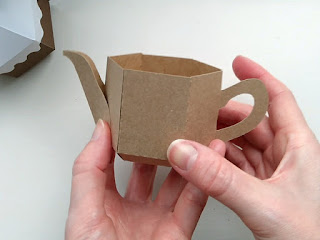
Position the spout carefully so that it looks right from the front and is directly opposite the handle.
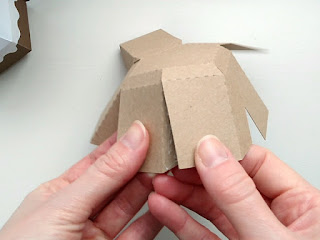
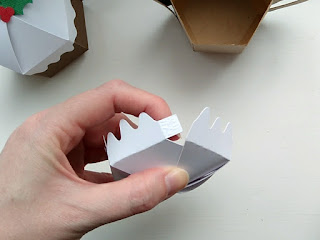
For the lid, tuck each of the six flaps into one another, and glue the small tab inside.
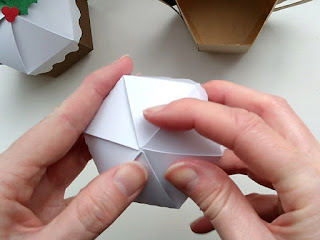
Align the flaps equally where they meet in the centre, then apply a tiny dot of glue to the centre to hold it in position.
TIP: As an optional finishing touch, you could apply a layer of acrylic gloss varnish to the lid to create the illusion of thick, glossy icing.
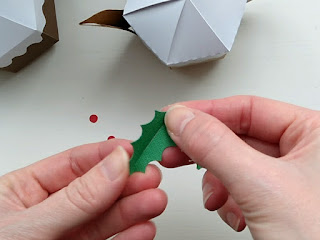
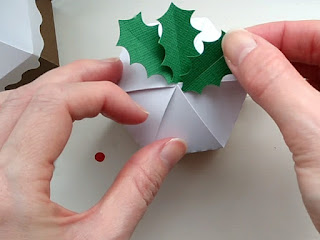
Gently bend the holly leaves in half, and glue the flat ends securely under the flaps of the lid.
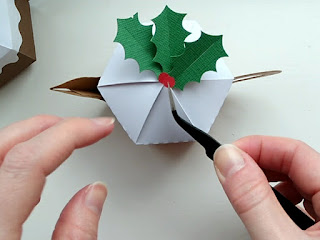
Glue the red berries on top to finish.
This is just the first of several Christmas themed teapots that I have designed this year, so be sure to check out the rest of the series over the next few weeks.
In the meantime, happy crafting.




No comments:
Post a Comment