Showing posts with label wedding favours. Show all posts

Thursday, 21 December 2023

Diamond Gem Box

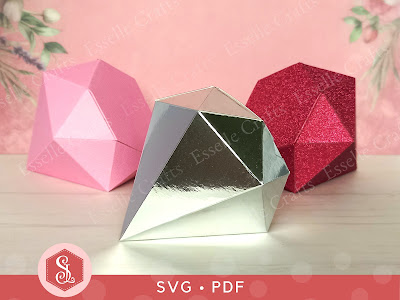
I was recently asked whether I could design a little favour box in the shape of a diamond 💎 and this is what I came up with!

I'm so pleased with how it's turned out! I've made it easy to open, and there's plenty of room inside for some sweet treats! It would work perfectly for wedding favours or as a cute gift box for Valentine's day!


You can find the template for this box in my Etsy shop, available as both SVG and PDF.

To make one, you will need:

Diamond Gem Box template (SVG and PDF available)
* Computer and printer to print the PDF template and instructions
* Digital cutting machine
* Cardstock (220-250gsm / 80-92lb recommended)
* Craft glue / double-sided tape

If you are not using a cutting machine you will also need:

* Craft knife / scissors
* Scoring tool
* Ruler

Watch my video tutorial below, showing how to assemble the diamond box.


TIP: try experimenting with different types and textures of cardstock to see which works best for you. This smooth, mirror card one is stunning, but the ruby glitter card one is definitely my favourite!


I hope that I have inspired you to create your own little diamond favour boxes using my template and I can't wait to see what you use them for! 💎

Suzanne 

Sunday, 30 October 2022

SVG Shirt Favour Boxes

Great news! You can now make my shirt favour boxes using a digital cutting machine! I have converted the templates into SVGs, and these are now available in my Etsy shop.


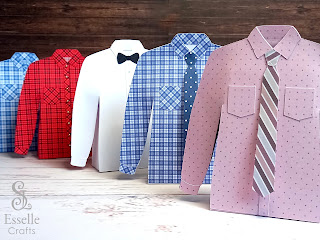
Ideal for birthdays, Father's Day, retirement gifts or wedding favours, these little shirt boxes are easy to assemble, and I just know you're going to have such fun experimenting with different shirt and tie designs!

To make the boxes, you will need:

* Shirt Favour Box template (PDF and SVG available)
* Computer and printer to print the PDF templates and instructions
* Digital cutting machine (I have only tested this on my Cricut machines)
* Patterned or coloured cardstock (220-250gsm recommended)
* Thinner patterned or coloured card for the ties (160-200gsm)
* Craft glue / PVA
* Sparkly gems or other small embellishments for the buttons
* Fineliner pens if you prefer to draw the buttons on.

If you are not using a cutting machine you will also need:

* Craft knife / scissors
* Scoring tool
* Ruler

Watch my video tutorial showing how to assemble the boxes:


You have the option of adding a tie to your shirt boxes, either a regular tie or a bow tie. 


TIP: If you choose to make a stripey tie, make sure that the stripes on the top part are facing in the opposite direction to the rest of the tie. This makes it look more realistic.
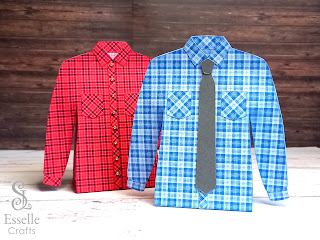
And if you would like to make these two checked shirt boxes, you can find the PDF templates here.

Don't they look amazing all lined up together! You could maybe personalise them for someone special, recreating their favourite shirts.


You could also team one up with my dress favour box, for a unique his and hers gift!

Happy crafting!

Suzanne

Thursday, 27 October 2022

Checked Shirt Favour Boxes

After recently launching my Christmas jumper boxes, I have adapted the template slightly to create these amazingly realistic checked shirt boxes!

The templates to make these two checked shirt boxes are available as PDFs in my Etsy shop. There is also a black and white PDF template available (outline only) which will allow you to create a shirt box using any coloured or patterned cardstock of your choice. 

Sunday, 15 August 2021

Handbag Favour Box

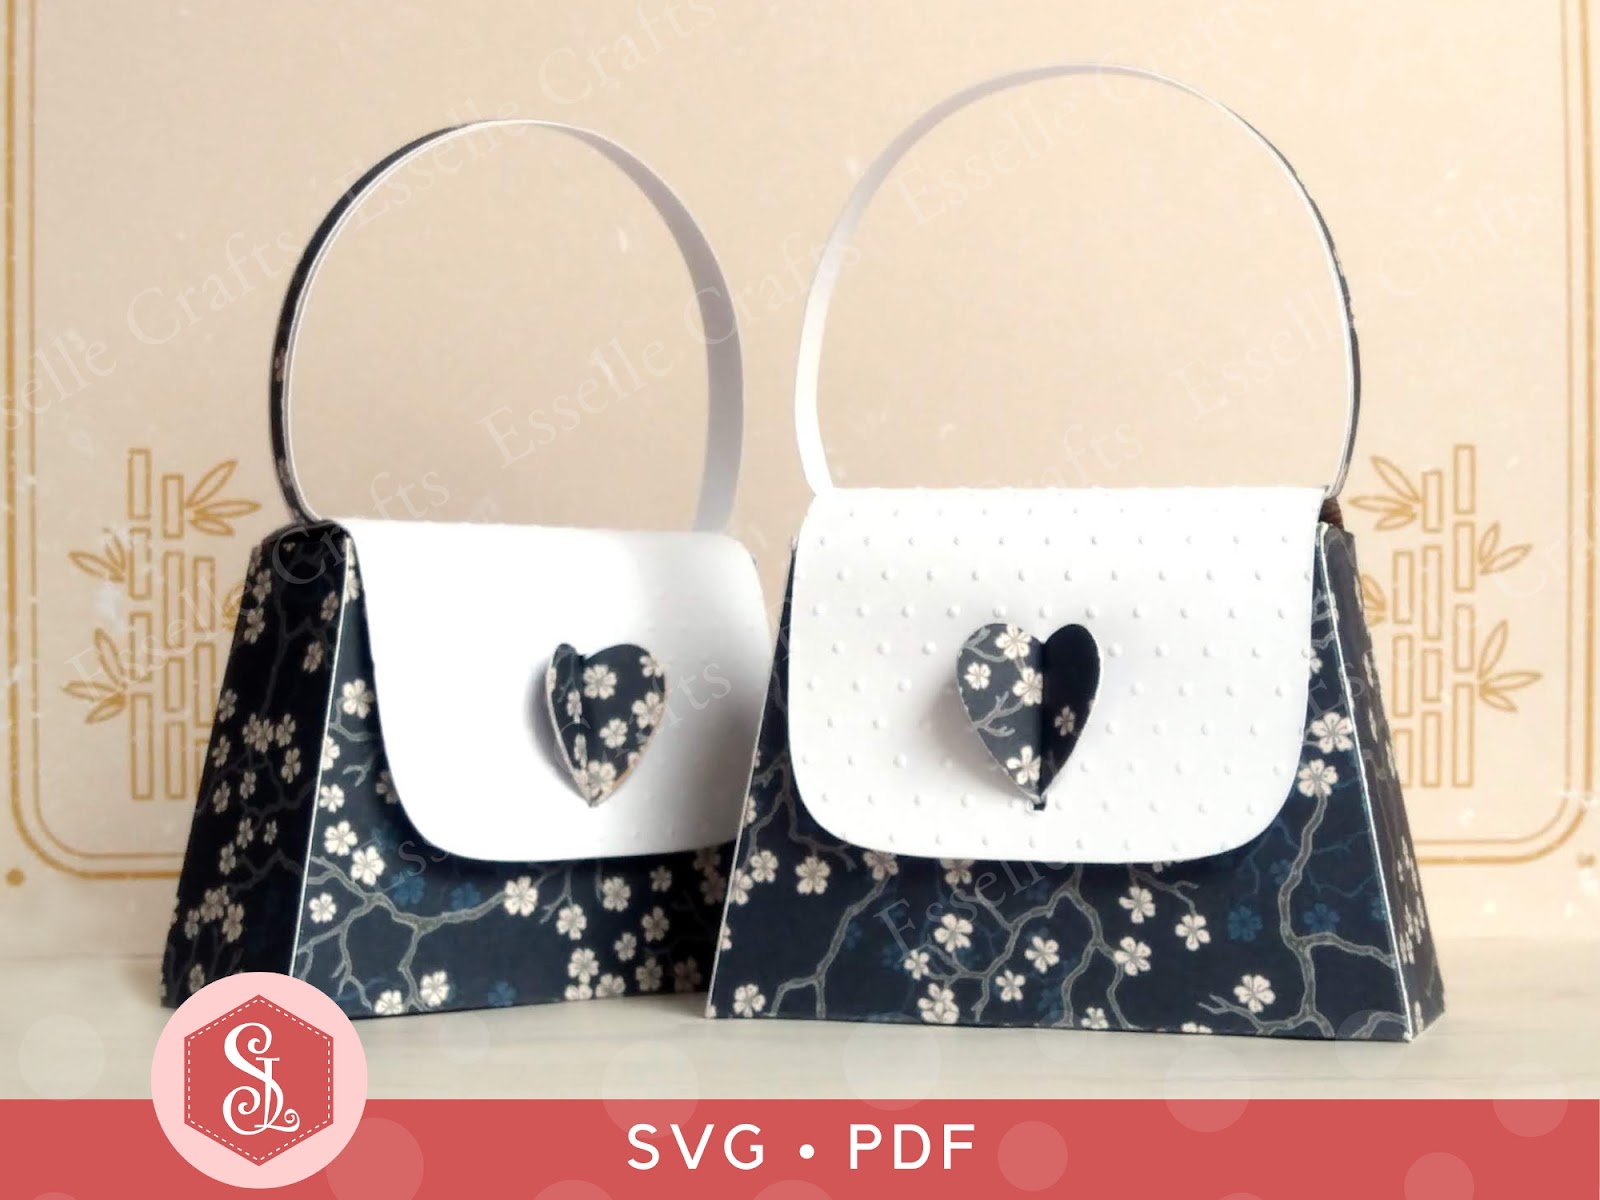
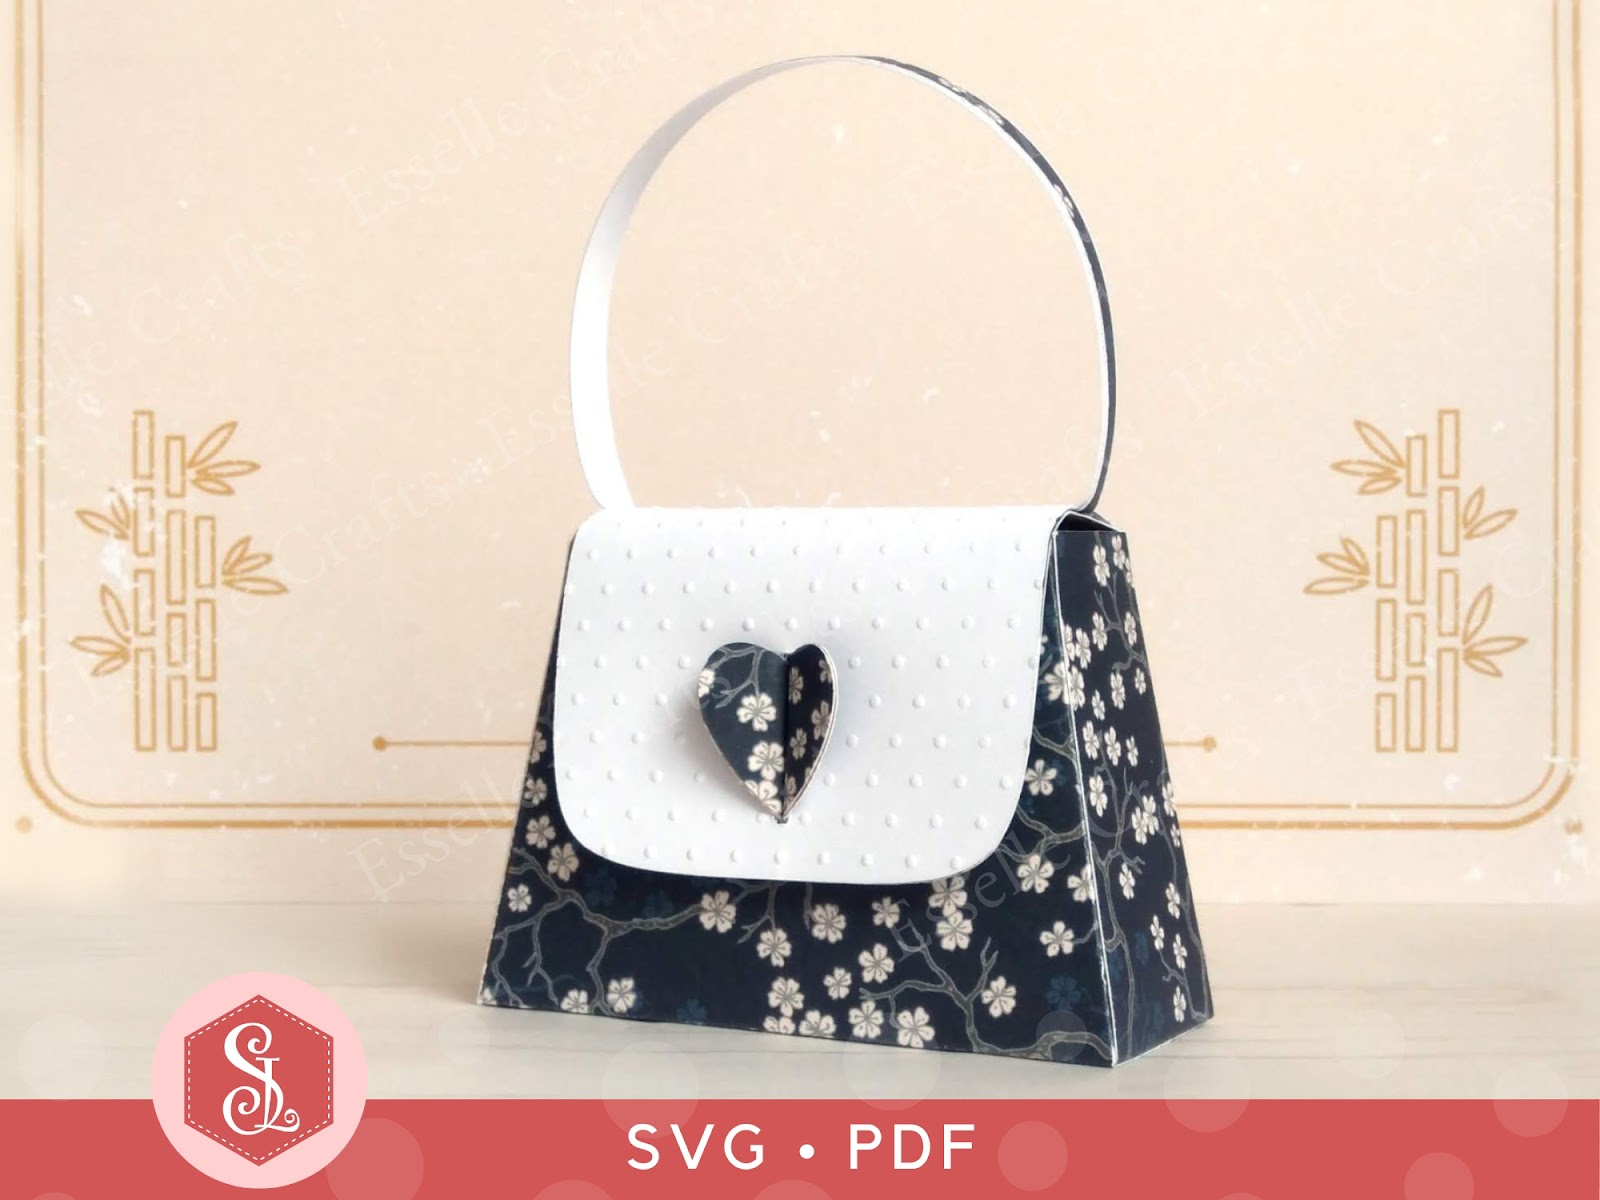
I wasn't sure whether to call this a favour box or a bag, but it certainly has plenty of room inside to carry some tasty treats!


Perfect for wedding favours, bridal showers, birthdays and Mother's Day, you can find the template for this cute, little handbag in my Etsy shop.


❤️ UPDATED January 2024 ❤️
I have now split the template up so that a larger sized bag can be made on a 12"x12" cutting mat. This means that it can now hold a standard sized gift card, as well as a lot more goodies!
To make one, you will need:

* Handbag Favour Box template (PDF and SVG available)
* Computer and printer to print the PDF template and instructions
* Digital cutting machine
* Double-sided cardstock (220-250gsm / 80-90lb recommended)
* Thinner card or paper for the lid panel (90-160gsm / 60-80lb recommended)
* Craft glue / double-sided tape
* Optional: Embossing folder

If you are not using a cutting machine you will also need:

* Craft knife / scissors
* Scoring tool
* Ruler

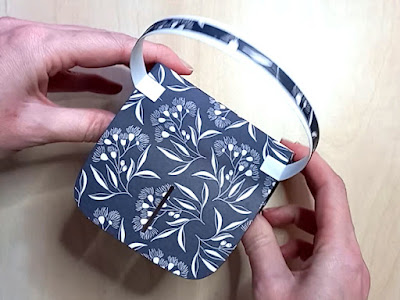
Watch my new and updated video tutorial showing how to assemble the handbag, and be sure to follow the tips below.


TIP 1: Make sure to glue the front base piece on top of the back base piece, so that it gives a neater finish at the front.


TIP 2: After gluing the handle panel on top of the handle, curl the handle into shape before the glue dries. Then, once it is glued in place, push the handle sides inwards slightly to give it a more defined shape.

TIP 3: If you are using plain paper or card for the lid panel, try embossing it first to give it some texture. I embossed mine with small polka dots.


TIP 4: After gluing the heart lock in place, pinch the heart at the front, then carefully slide a bone folder or a ruler in underneath the lid to allow the lid to open up. You can then press the heart lock into place more easily.


TIP 5: If you want to make a larger (or smaller) sized handbag, then you can easily resize the template. The base is very sturdy with its double layer, but if the contents are too heavy, then you may need to strengthen the handle by adding on another layer or two.


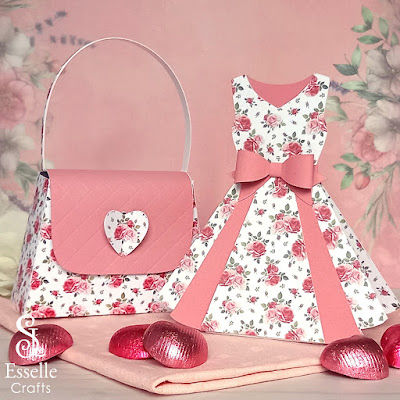
This beautiful pink version perfectly matches my dress favour box and would make wonderfully unique wedding favours!

I hope you are inspired to make some of these favour boxes for a special occasion, and I would love to see your beautiful creations. Feel free to share your photos of them with me on Instagram or Facebook.

Suzanne