
For this first one, I cut the front, back and side panels out of an old tissue box, then used a silver metallic marker pen around the edges before gluing them in place. To compliment the silver, I used silver glitter card for the handle panels.

Showing posts with label gift bag. Show all posts
Showing posts with label gift bag. Show all posts
Friday, 26 July 2024
Even More Upcycled Favour Bags!
Once again, I have been busy making more upcycled gift bags using my Butterfly Favour Bag template.


Tuesday, 11 June 2024
More Upcycled Favour Bags!
Following on from one of my previous posts, I have been busy making more upcycled gift bags using my Butterfly Favour Bag template.

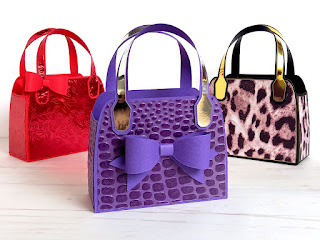
The main structure of this stunning purple bag is made from an old school book cover! I then cut the front, back and side panels out of textured paper. The handle panels were cut from silver mirror card and the enlarged bow was made from another piece of the school book cover.
I think this is definitely one of my favourites! 💜

This red bag, along with its bow, also started life as a school book cover! I then cut all of the panels out of red mirror card and embossed them with a beautiful leaf design.


I created these two white bags from old textured cardstock that I'd taken from another project. Don't they look amazing?! I love the look of white on white. There were a few imperfections on some of the panel pieces, so I embossed each of them using a knitted pattern design, which made them perfect! I then used the leftover scraps to make the little bow and the layered flower.


I cut the decorative panels on this black leopard print bag out of an old paper bag - you know, the ones you get from little gift shops. I first had to back the paper bag onto thin white card to give it some stability before cutting the panels out. I then ran a gold metallic marker pen around the edges, which perfectly compliments the gold mirror card handle panels.
Here's all three of them together, looking absolutely gorgeous!
I created these two white bags from old textured cardstock that I'd taken from another project. Don't they look amazing?! I love the look of white on white. There were a few imperfections on some of the panel pieces, so I embossed each of them using a knitted pattern design, which made them perfect! I then used the leftover scraps to make the little bow and the layered flower.

For this last bag, I cut the main black pieces out of an old art folder and the panels out of a tissue box. I cut the panels out by hand as I wanted to line the little dogs up so that the pattern was equal on both sides. I then ran a silver metallic marker pen around the edges and cut the handle panels out of silver glitter card to match.
Whilst not all of the bags are made entirely from upcycled materials, it was a good chance to use up some of my cardstock scraps and experiment with different textures.
So, which bag is your favourite now?

Happy crafting and happy upcycling! ♻️
Suzanne
Saturday, 5 August 2023
Upcycled Favour Bags
I've recently been experimenting with my butterfly favour bag template, seeing what other versions I could come up with, and just look at what I've created!


I made this next one in a similar way, using scraps of gold mirror card. Running these panels through my Big Shot created almost a matt finish, and I went around the edges with a gold metallic marker pen afterwards to hide the white core.

Aren't they fabulous!?
Most of the bags are decorated with small paper scraps, and I upcycled old greeting cards, Christmas crackers and card packaging for the others ♻️
My favourite has to be the Guinea pig bag, made using a tissue box.
I started by making the bag out of Kraft card, then I cut the front and back panels from the front and back of the tissue box and the two side panels from the picture on the base of the box. I went around the edges of the panels with a gold metallic marker pen before gluing them on, then cut the handle panels from gold mirror card.


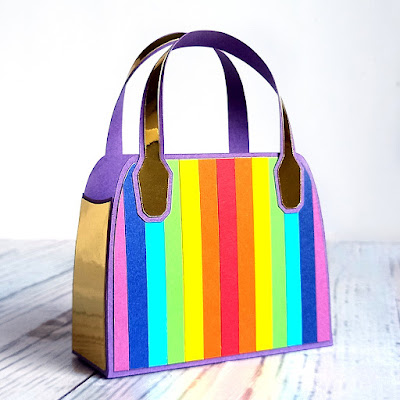
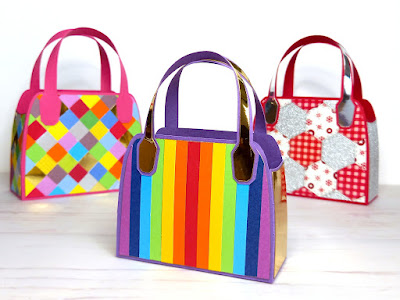
For this rainbow bag, I reduced the size of the template slightly and cut the main bag pieces out of an old school book cover. I then cut the front and back panels out of white copy paper. I found lots of different coloured cardstock scraps and cut them into thin strips. Then I glued the red strip down the centre of the front and back panels and filled the rest with the other colours. After trimming any ends off, I went around the edges with a gold metallic marker pen, then cut the two side panels and the handle panels out of gold mirror card.
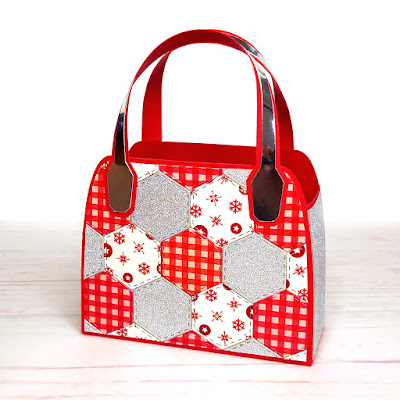
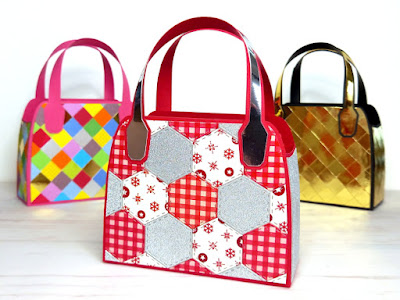
For this next one, I made the bag out of red cardstock, then cut a front and back panel out of white copy paper. I die cut small hexagons from old Christmas crackers (that I had saved from a couple of years ago) and glued them onto the panels to make a patchwork effect. I then cut the two side panels out of a larger piece of glittery, silver cracker and cut the handle panels out of silver mirror card.
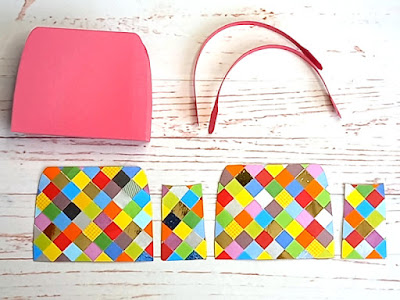
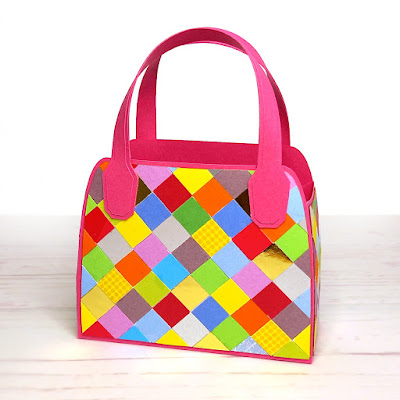
The pink card that I used for this next bag was an old A4 folder divider that I no longer needed. Again, I cut the front and back panels and two side panels from copy paper, then found lots of small scraps of cardstock, greeting cards and food packaging and punched out as many squares as I could using my 1.1cm square punch.
Call me obsessive, but I really wanted all of the edges to match up so that it looked like a candy wrapper bag, and here's how the panels looked once I'd finished.
Before I glued them on, I ran the panels through my Big Shot to flatten them and it gave them a nice smooth finish.
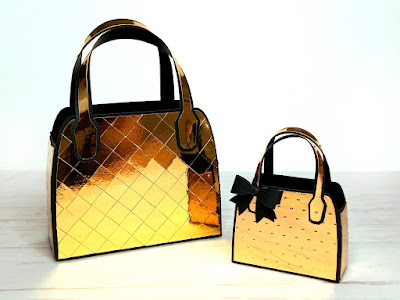
I made this next one in a similar way, using scraps of gold mirror card. Running these panels through my Big Shot created almost a matt finish, and I went around the edges with a gold metallic marker pen afterwards to hide the white core.
It's very similar to the mini gold handbags that I made using the same template.
I'm completely obsessed with making these bags now, and will definitely be making more!
Watch this space!
Suzanne
Friday, 3 June 2022
Tropical Handbag Gift Bag
Hello, and welcome to another upcycling tutorial! This time I will be showing you how to transform an ordinary, cheap gift bag into a fabulous, designer-worthy handbag gift bag!

Over the years, I've been given so many of these gift bags, and I've saved them, thinking that one day I will be inspired to create something new out of them. Now I can't wait to share with you what I've made, and show you how to make one for yourself!
Doesn't it look amazing! 😍

This is the gift bag that I started off with. The label on the base showed that it came from Tesco and was called T.Tropical Gift Bag, but as I was given it so long ago, I doubt if it's still available.

Take a look at my video tutorial below showing how I made the handbag!
Here's a close up view of the rosette on the front. The button was also repurposed from an old cardigan.


Sunday, 15 August 2021
Handbag Favour Box
I wasn't sure whether to call this a favour box or a bag, but it certainly has plenty of room inside to carry some tasty treats!
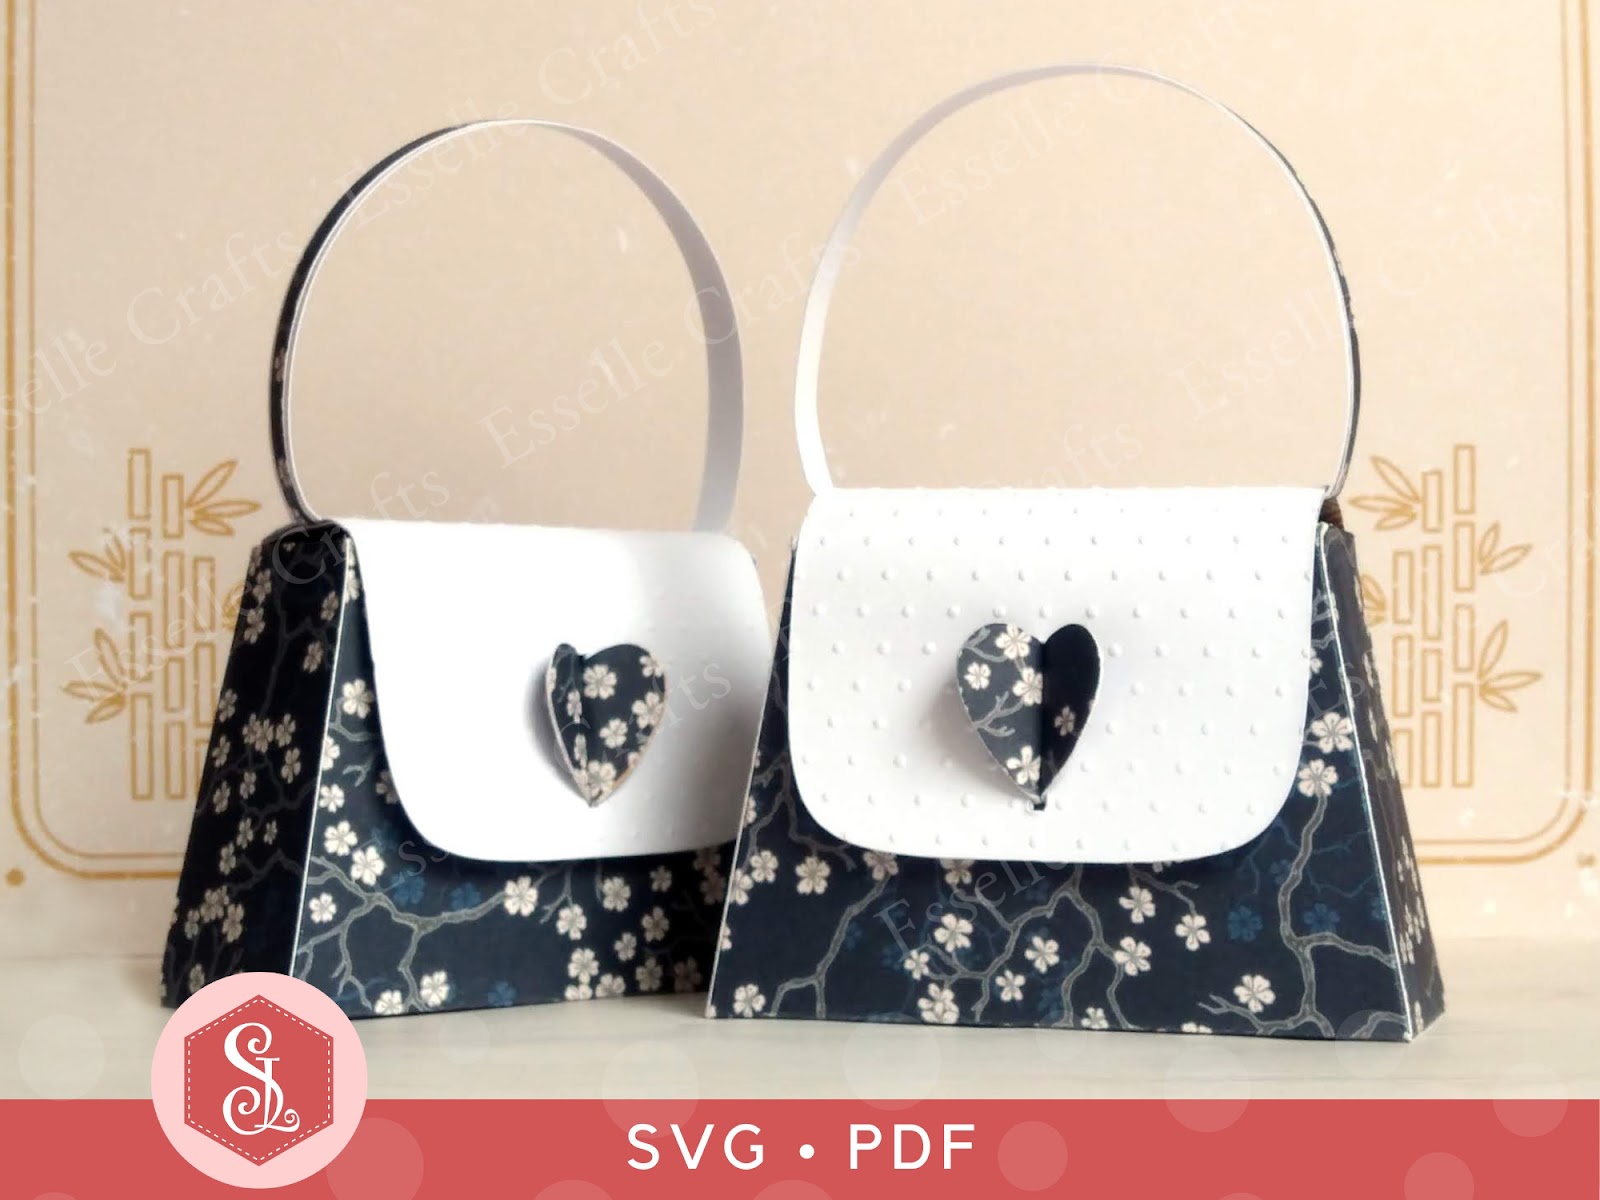


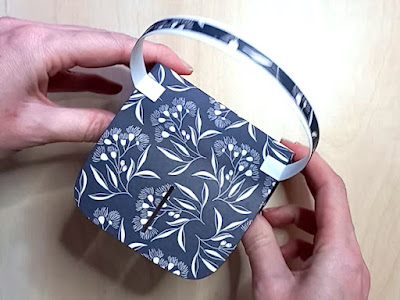
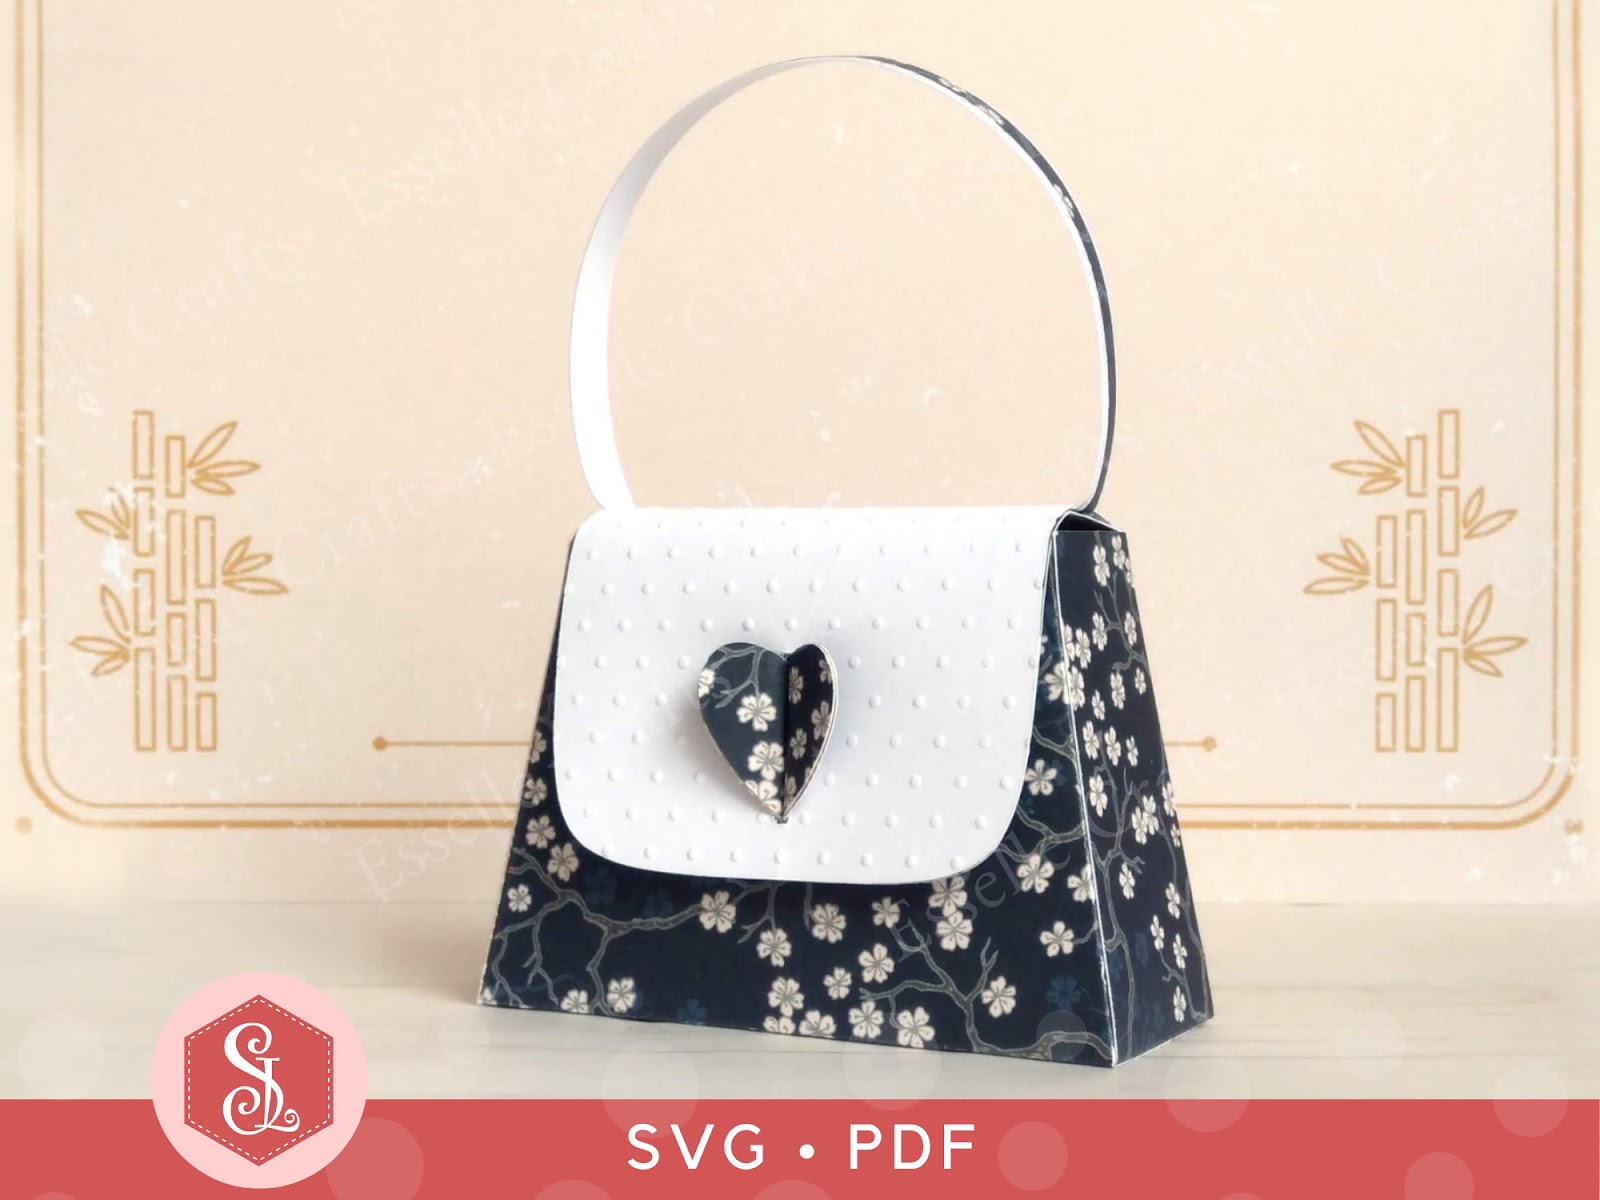

This beautiful pink version perfectly matches my dress favour box and would make wonderfully unique wedding favours!
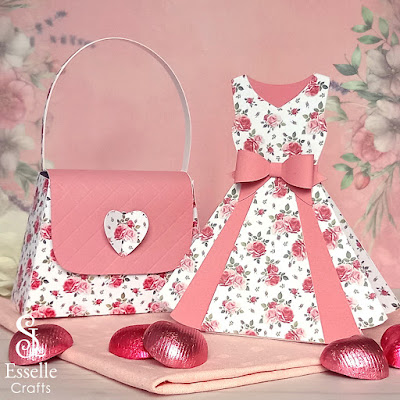
Perfect for wedding favours, bridal showers, birthdays and Mother's Day, you can find the template for this cute, little handbag in my Etsy shop.
❤️ UPDATED January 2024 ❤️
I have now split the template up so that a larger sized bag can be made on a 12"x12" cutting mat. This means that it can now hold a standard sized gift card, as well as a lot more goodies!
To make one, you will need:
* Handbag Favour Box template (PDF and SVG available)
* Computer and printer to print the PDF template and instructions
* Digital cutting machine
* Double-sided cardstock (220-250gsm / 80-90lb recommended)
* Thinner card or paper for the lid panel (90-160gsm / 60-80lb recommended)
* Craft glue / double-sided tape
* Optional: Embossing folder
If you are not using a cutting machine you will also need:
* Craft knife / scissors
* Scoring tool
* Ruler
Watch my new and updated video tutorial showing how to assemble the handbag, and be sure to follow the tips below.
TIP 1: Make sure to glue the front base piece on top of the back base piece, so that it gives a neater finish at the front.

TIP 2: After gluing the handle panel on top of the handle, curl the handle into shape before the glue dries. Then, once it is glued in place, push the handle sides inwards slightly to give it a more defined shape.
TIP 3: If you are using plain paper or card for the lid panel, try embossing it first to give it some texture. I embossed mine with small polka dots.

TIP 4: After gluing the heart lock in place, pinch the heart at the front, then carefully slide a bone folder or a ruler in underneath the lid to allow the lid to open up. You can then press the heart lock into place more easily.
TIP 5: If you want to make a larger (or smaller) sized handbag, then you can easily resize the template. The base is very sturdy with its double layer, but if the contents are too heavy, then you may need to strengthen the handle by adding on another layer or two.


I hope you are inspired to make some of these favour boxes for a special occasion, and I would love to see your beautiful creations. Feel free to share your photos of them with me on Instagram or Facebook.
Suzanne
Friday, 5 April 2019
Envelope Tote Bag
There are so many different tutorials showing how to make a paper tote bag, but I am going to show you how to make one using an old envelope. As you know, I love to upcycle whenever I can, and these little bags are so cute and so easy to make, they are perfect for last minute favour bags!

Saturday, 23 February 2019
Easy Easter Crafts
With the shops already full of Easter eggs, I thought that I would start early and make a few Easter baskets and bags, so that I am ready for when the day arrives.


Subscribe to:
Posts (Atom)