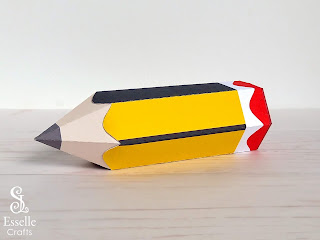
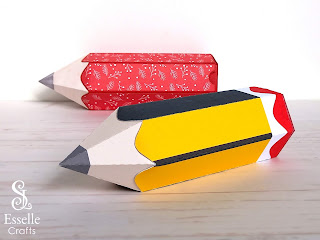
I have now created a full colour PDF template for my School Pencil Favour Box, an idea that I first introduced to you here.
Easy to open, these super cute school pencil boxes can be filled to the brim with sweets or small treats. Ideal for stationery addicts, teacher gifts, back to school gifts, graduation gifts and more!
To make your very own fabulous school pencil boxes you will need:
- School Pencil Favour Box (PDF template only)
- Computer and printer to print the template out
- White photo paper (220 - 250gsm recommended)
- Craft glue / PVA / double sided tape
- Craft knife / scissors
- Ruler
- Scoring tool
Watch my video tutorial to see me making one, and be sure to follow the tips below:
TIP 1: Print your PDF template onto white photo quality paper (220 - 250gsm recommended). This will give your boxes a lovely sharp quality.
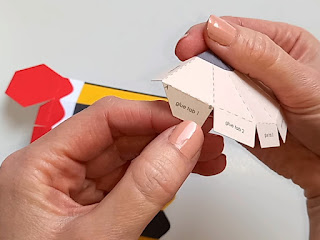
TIP 2: Find glue tab A on the pencil point piece first, then apply glue or double sided tape to the tab and attach it to the first section of the pencil, lining up points A and B from the template.
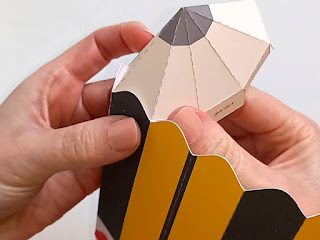
TIP 3: Continue to glue the pencil point tabs in place, making sure that the curved edges are not stuck down at this stage.
TIP 4: After applying glue to tabs 7 and 8, interlock them and use a long ruler or a bone folder to press against the join from the inside until it dries.
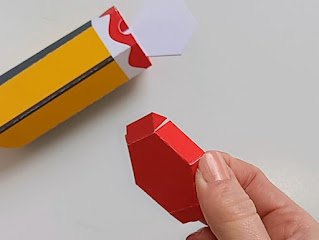
TIP 5: Use a strong glue on each of the five tabs near the lid end and fold them down inside the box. This will neaten the edges, strengthen the box and help to keep the lid closed.
TIP 7: Whilst this is drying, glue each of the six curved edges down and hold them in place until dry.
TIP 8: If needed, glue one or two extra tabs to the front of the lid insert to help hold the lid closed. The need for this varies depending on the thickness of the card or paper used.
This is a fabulous little favour box, and I love how amazing it looks when put together with my SVG version, (a version where you can choose your own colour scheme).




No comments:
Post a Comment